Snail Maintenance
Note: Occasionally verify tanks are 26ºC ± 0.5ºC. Record snail and tank data daily to view trends over time if concerns arise.
Current Snail Colony
| Snail Species | # of Tanks |
|---|---|
| B. glabrata (BS-90 strain) | 3 large tanks |
| Snail Nursery: B. glabrata (BS-90 strain) | 1 small tank |
| B. glabrata (NMRI strain) | 3 large tanks |
| L. stagnalis | 1 small tank |
Maintence of Snails and Tanks (Every M/W/F)
Note: It is important to switch gloves in between tanks to prevent contamination. Each species of snail has their own labeled materials for maintenance and cleaning, which can ONLY be used for that species of snail.
-
Get a pre-packaged Ziploc bag of lettuce from the freezer in room 311.
-
Break off two large leaves of lettuce per tank (may need more depending on density of the tank). There are three tanks for each species of snail (BS90 and NMRI), six tanks total. There may be lettuce left over, put lettuce leftovers and put back in bag and in freezer. If the bag is empty, wash it out in the sink and hang to dry. These bags can be re-used.
Note: Coordinate the purchase of lettuce two weeks before finishing existing supply. It is ordered from the Union (608-263-7910), and gets delivered to the Hanson loading dock within a few days of placing the order. Cut the lettuce bottom off of each lettuce head. Package one head of lettuce per Ziploc bag. Do this in B7 and then bring up the bags of packaged lettuce to store in the -20ºC freezer in room 311.
-
Shake in a little bit of Tetramin fish food.
-
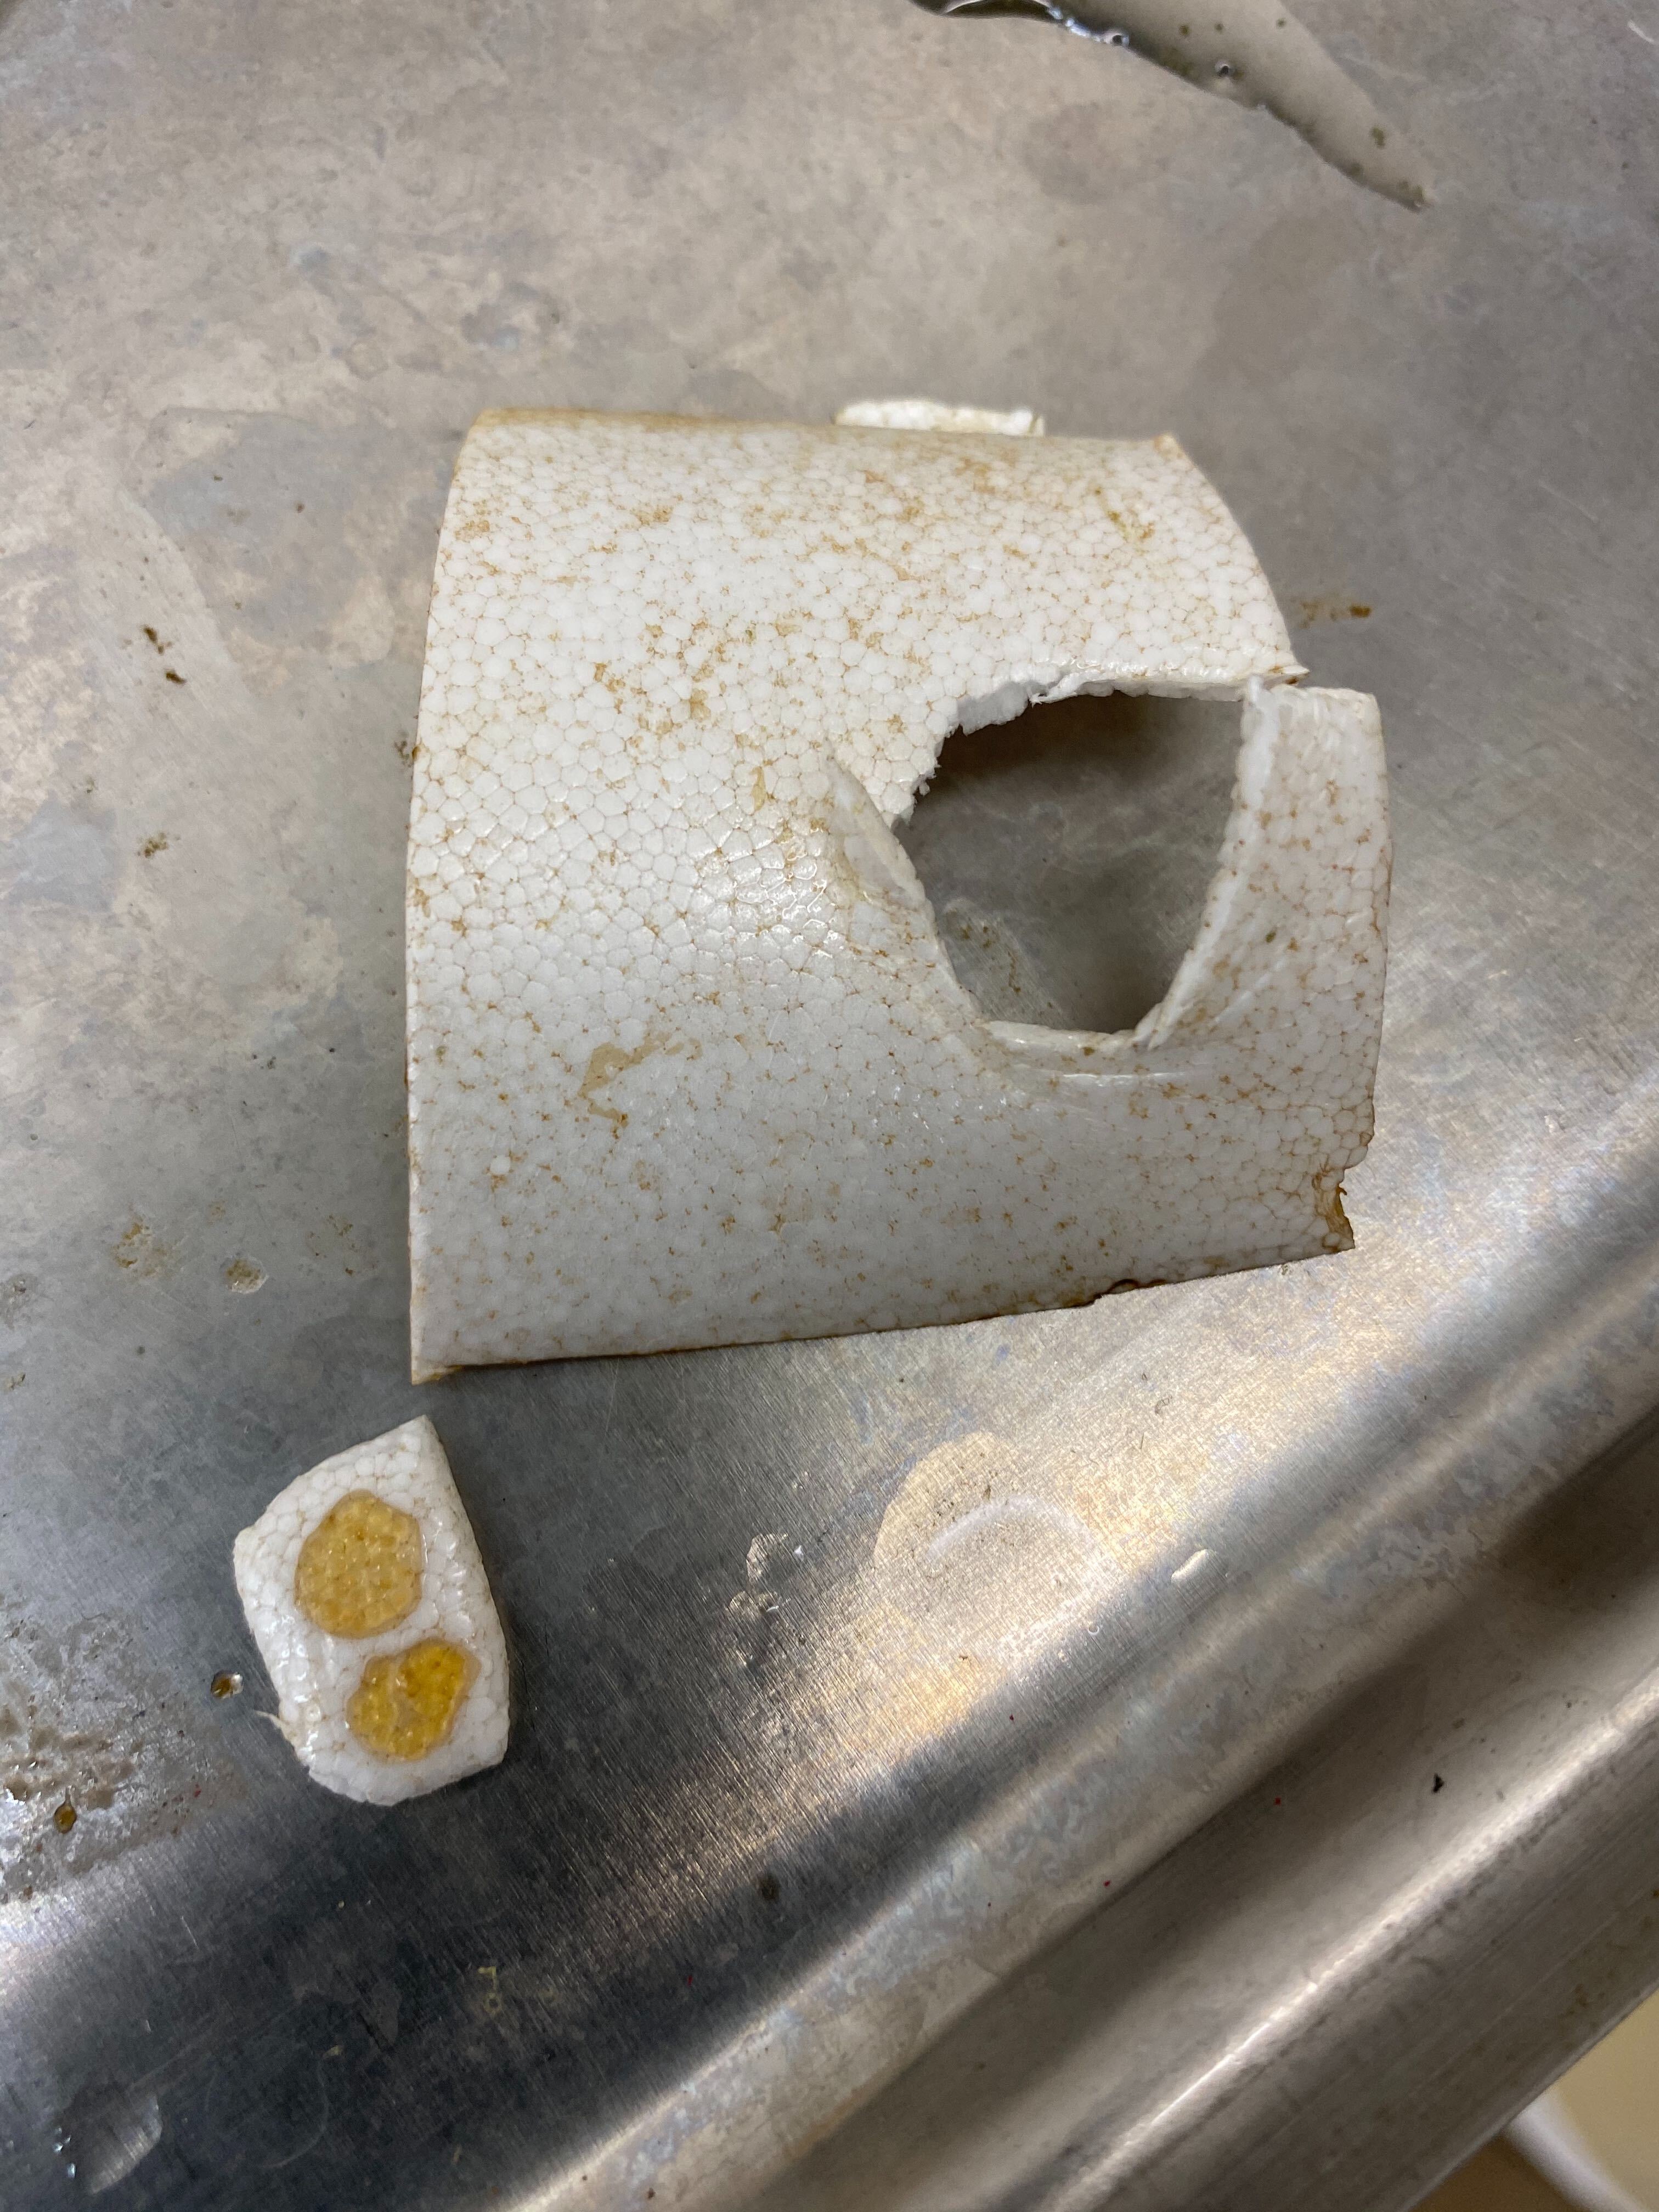
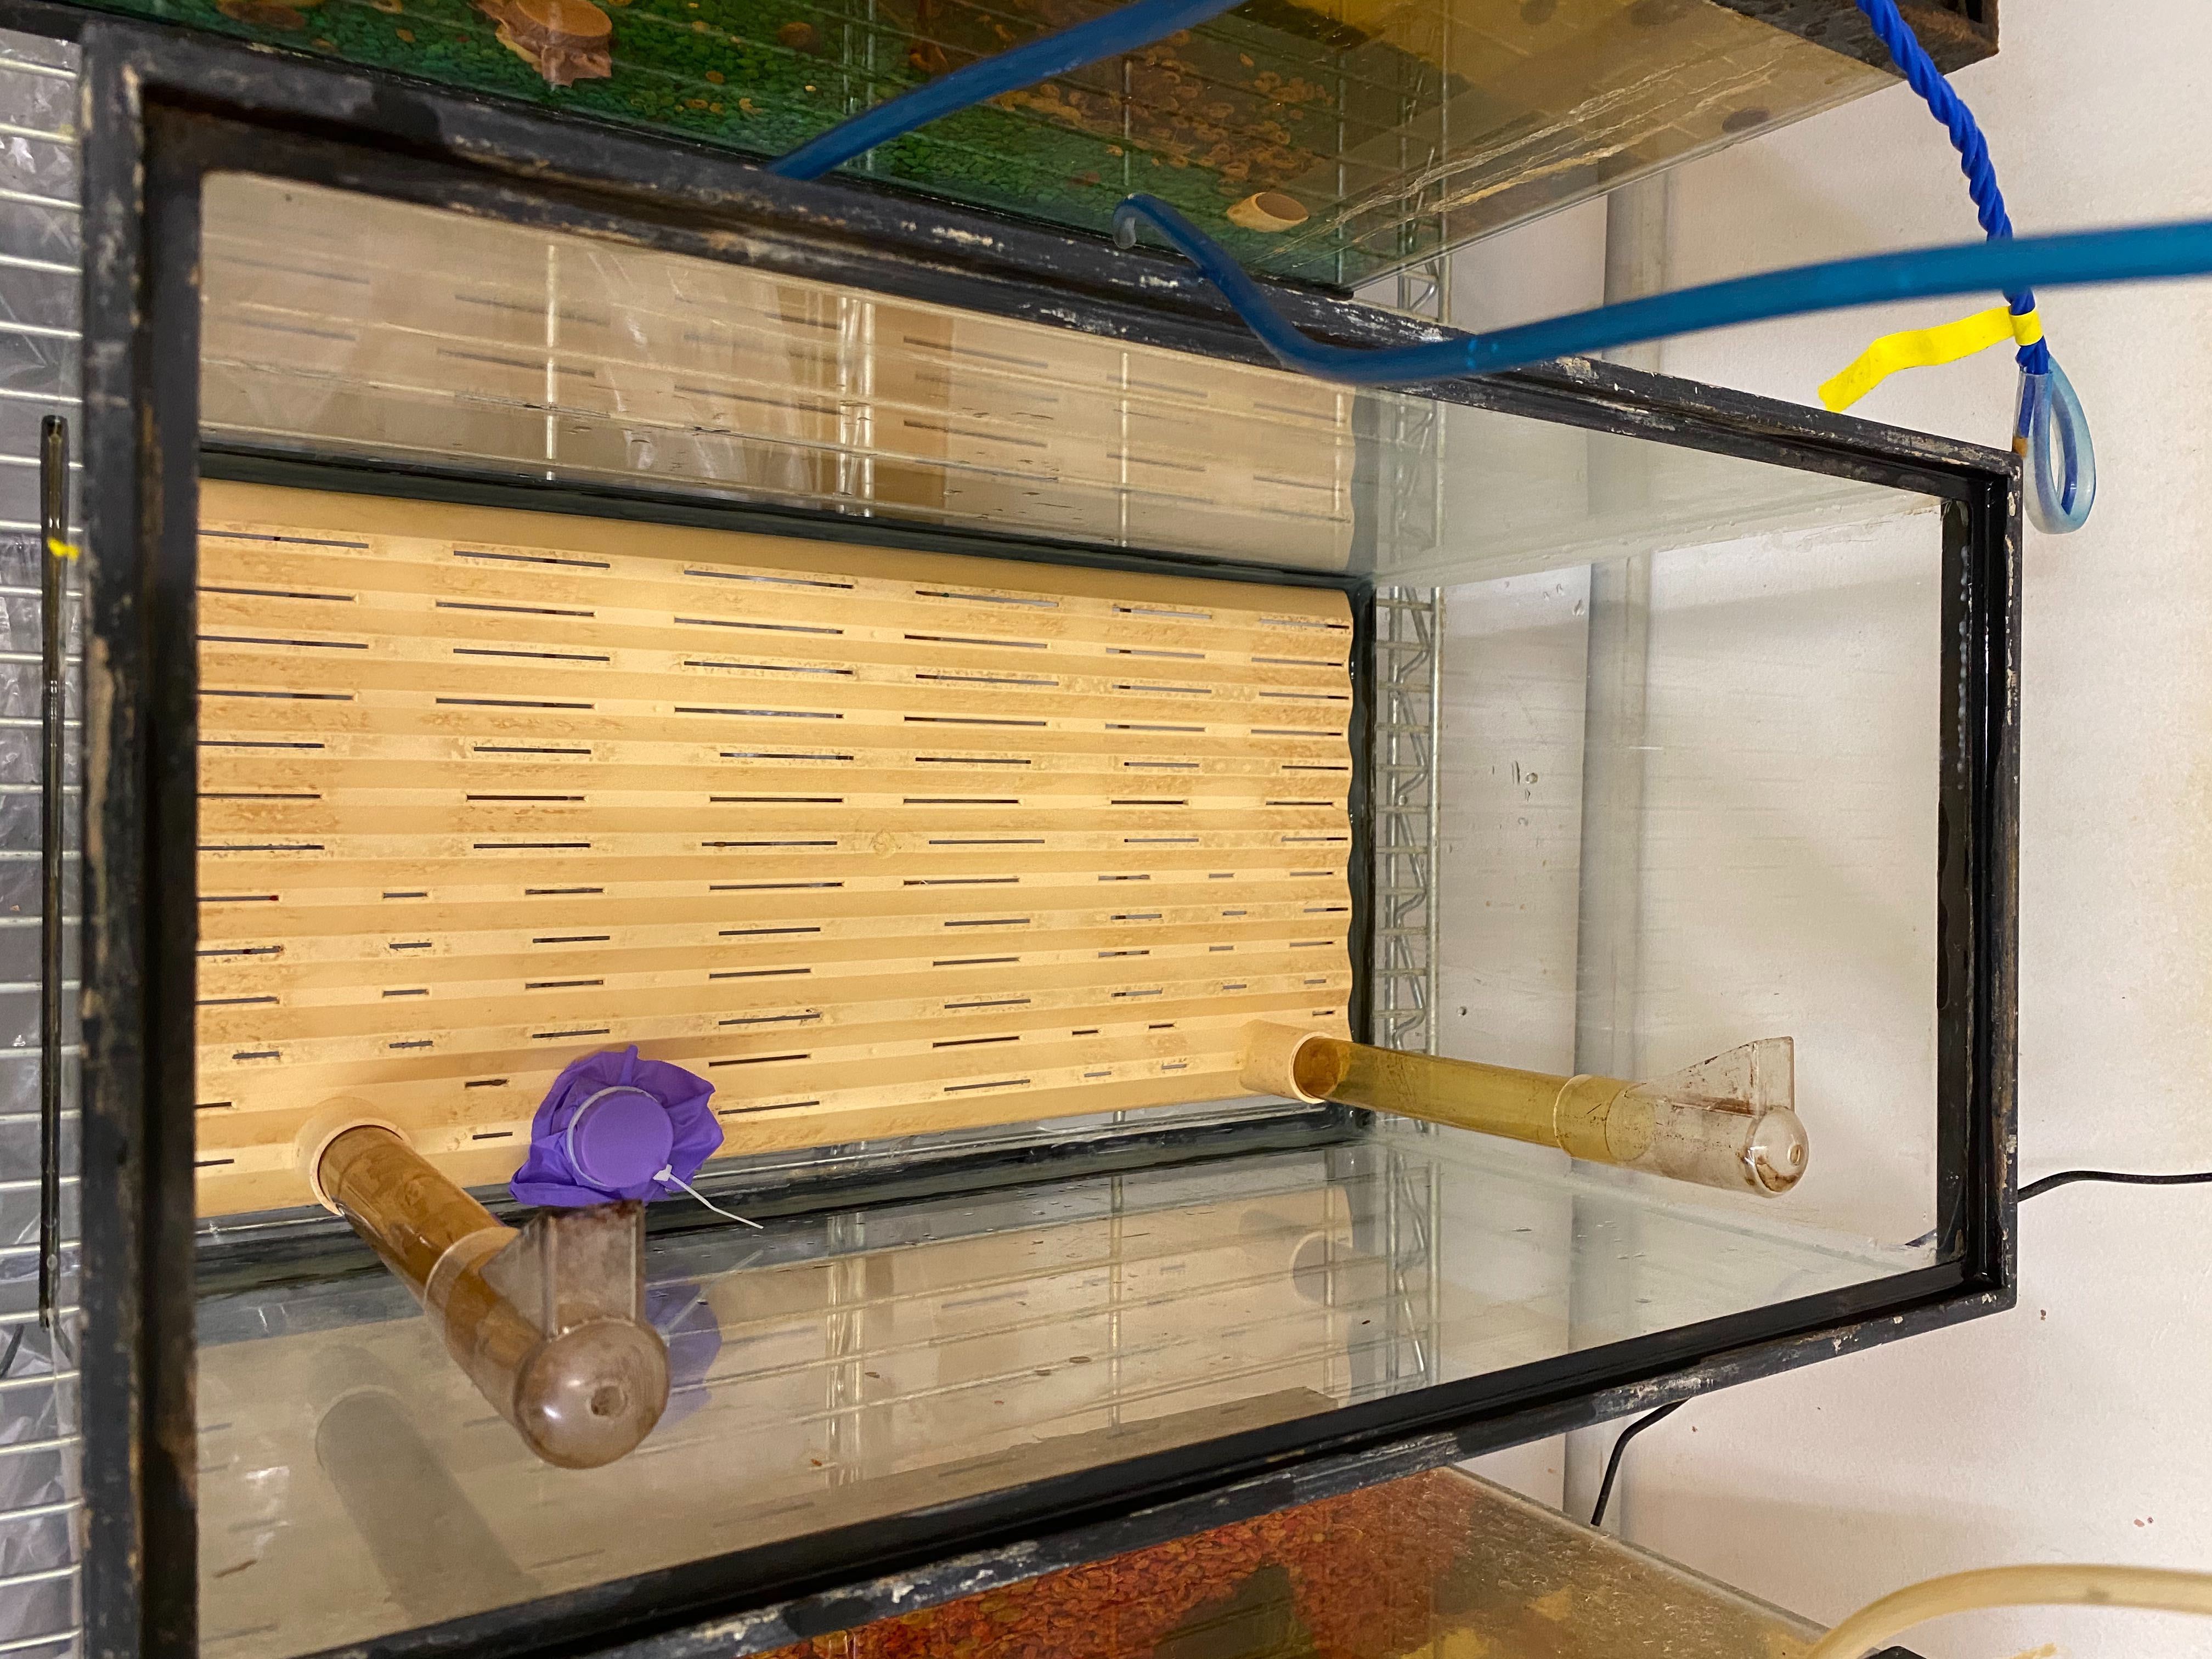
Look at the the styrofoam pieces floating on top of the tank. If you notice a high density of egg bundles you may want to add another piece of cut styrofoam. If a majority of egg sacs have hatched off of the styrofoam piece, you can remove and discard. This doesn't need to be done often (~ once per month).
Optional: Remove old lettuce from the tanks unless there are many baby snails present. You need to use the long tongs that is labelled with the corresponding species to remove the old lettuce.
-
Top off water levels using distilled water. There is a pitcher located by each species of snail that you should use.
Note: If the Nalgene tank is out of water: spray down bottom of the tank, then then add 100 mL of pond water stock solution and 30 gallons of DI water to the tank.
-
Repeat above procedure for the NMRI snails.
Note: BS90 tanks have a tendency to be susceptible to mite contamination. Inspect the styrofoam pieces that contain the egg sacs to see if there are mites present. You will be able to see them moving around. They tend to be near or in the egg sacs. If the mites are a problem, you may want to start a snail nursery using a separate, small tank.
Snail Nursery Startup
-
Take a small, cleaned tank stored underneath the BS90 snail tanks. Fill the tank ½ to ¾ full with diluted pond water from the Nalgene tank. Take a fish tank hose and connect it to the grey air pump and clamp it to the nursery tank. Do not fill the tank with gravel (this will allow for easier access to baby snails, once hatched, to move to the larger colony tanks).
-
Go into the BS90 tank that has the least amount of mite contamination and remove a piece of styrofoam that contained freshly laid egg sacs. Clean a pair of scissors with 70% EtOH. Cut away a few freshly laid egg clusters that you observe have no mite contamination. Put the trimmed egg sacs face down in the new nursery tank (3 weeks in a row, 3 egg sacs).
-
Wait a week to feed snails. Tiny piece of lettuce and small amount of fish food to start with. You will need to scale the amount of each as your snails grow in size.
Cleaning Tanks (Every 4-6 Months)
Note: 4-6 months is the recommendation. If there is a dirty tank with a lot of babies that would be lost, don't clean it.
Note: Each species of snail has their own labeled materials for maintenance and cleaning, which can ONLY be used for that species of snail.
-
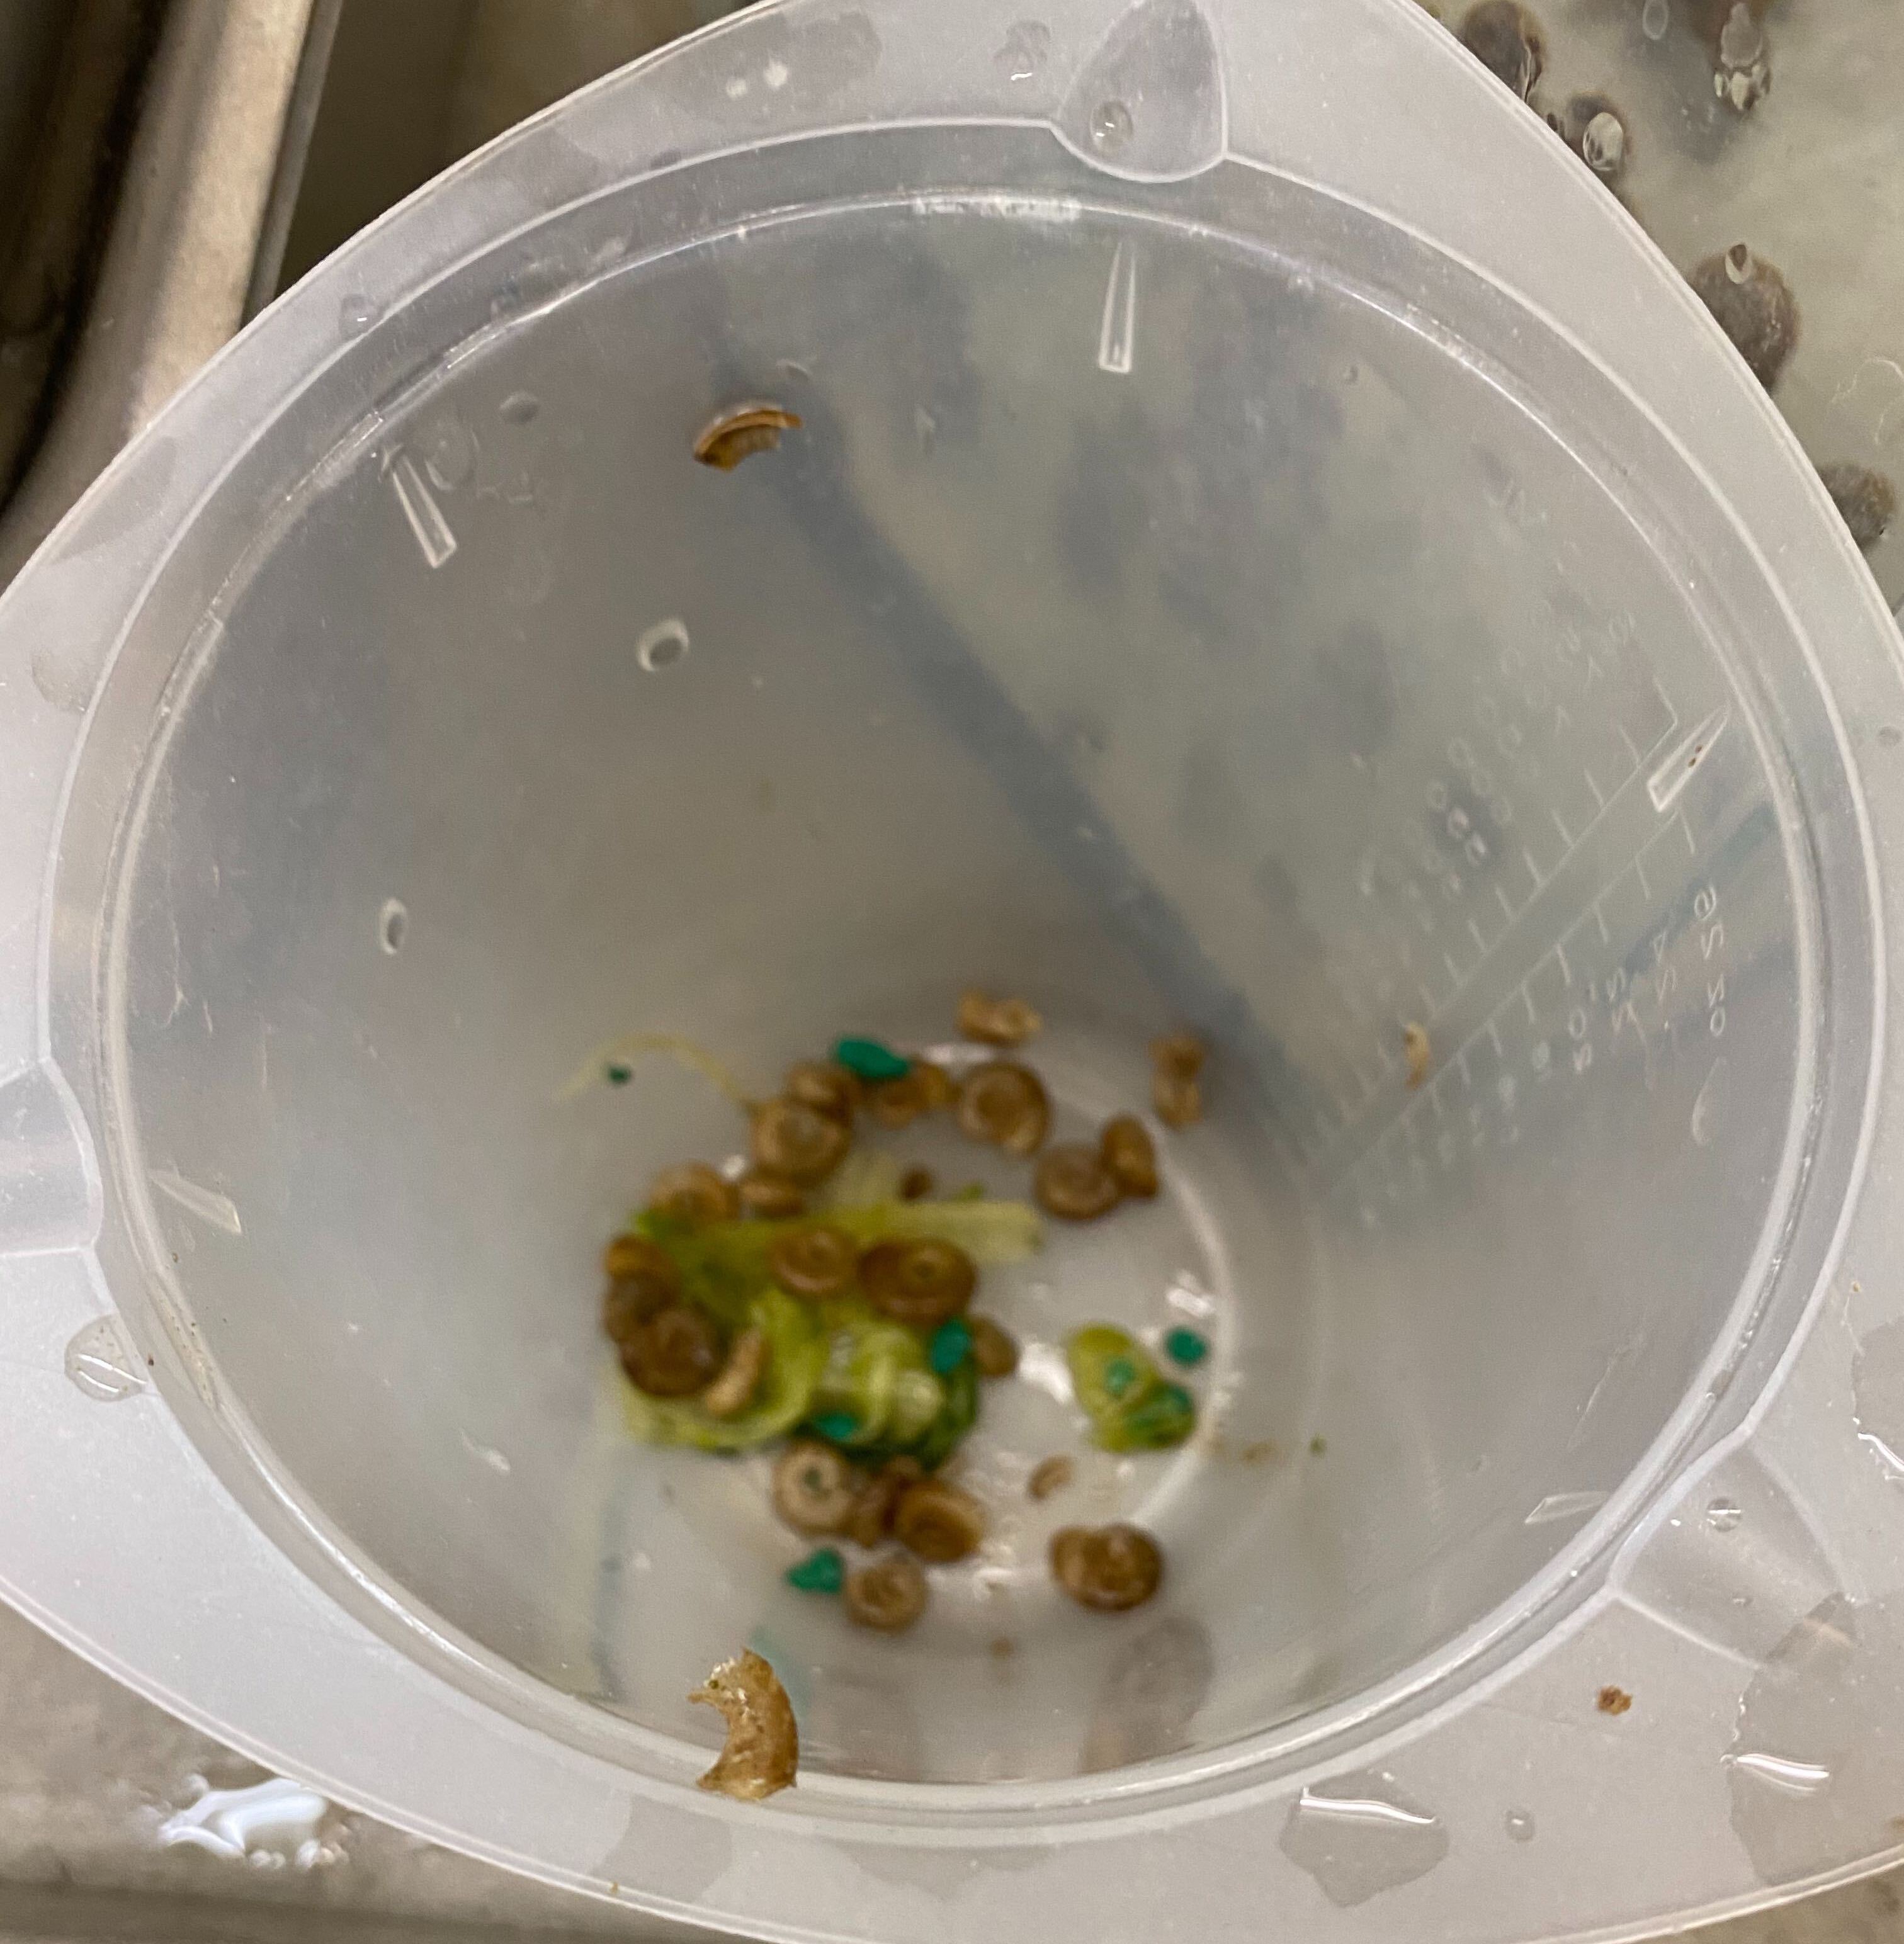
Fill a small tank half way with pond water. Use a fish net to get the snails out of the dirty tank (this doesn't get all the snails) and transfer them to the small holding tank.
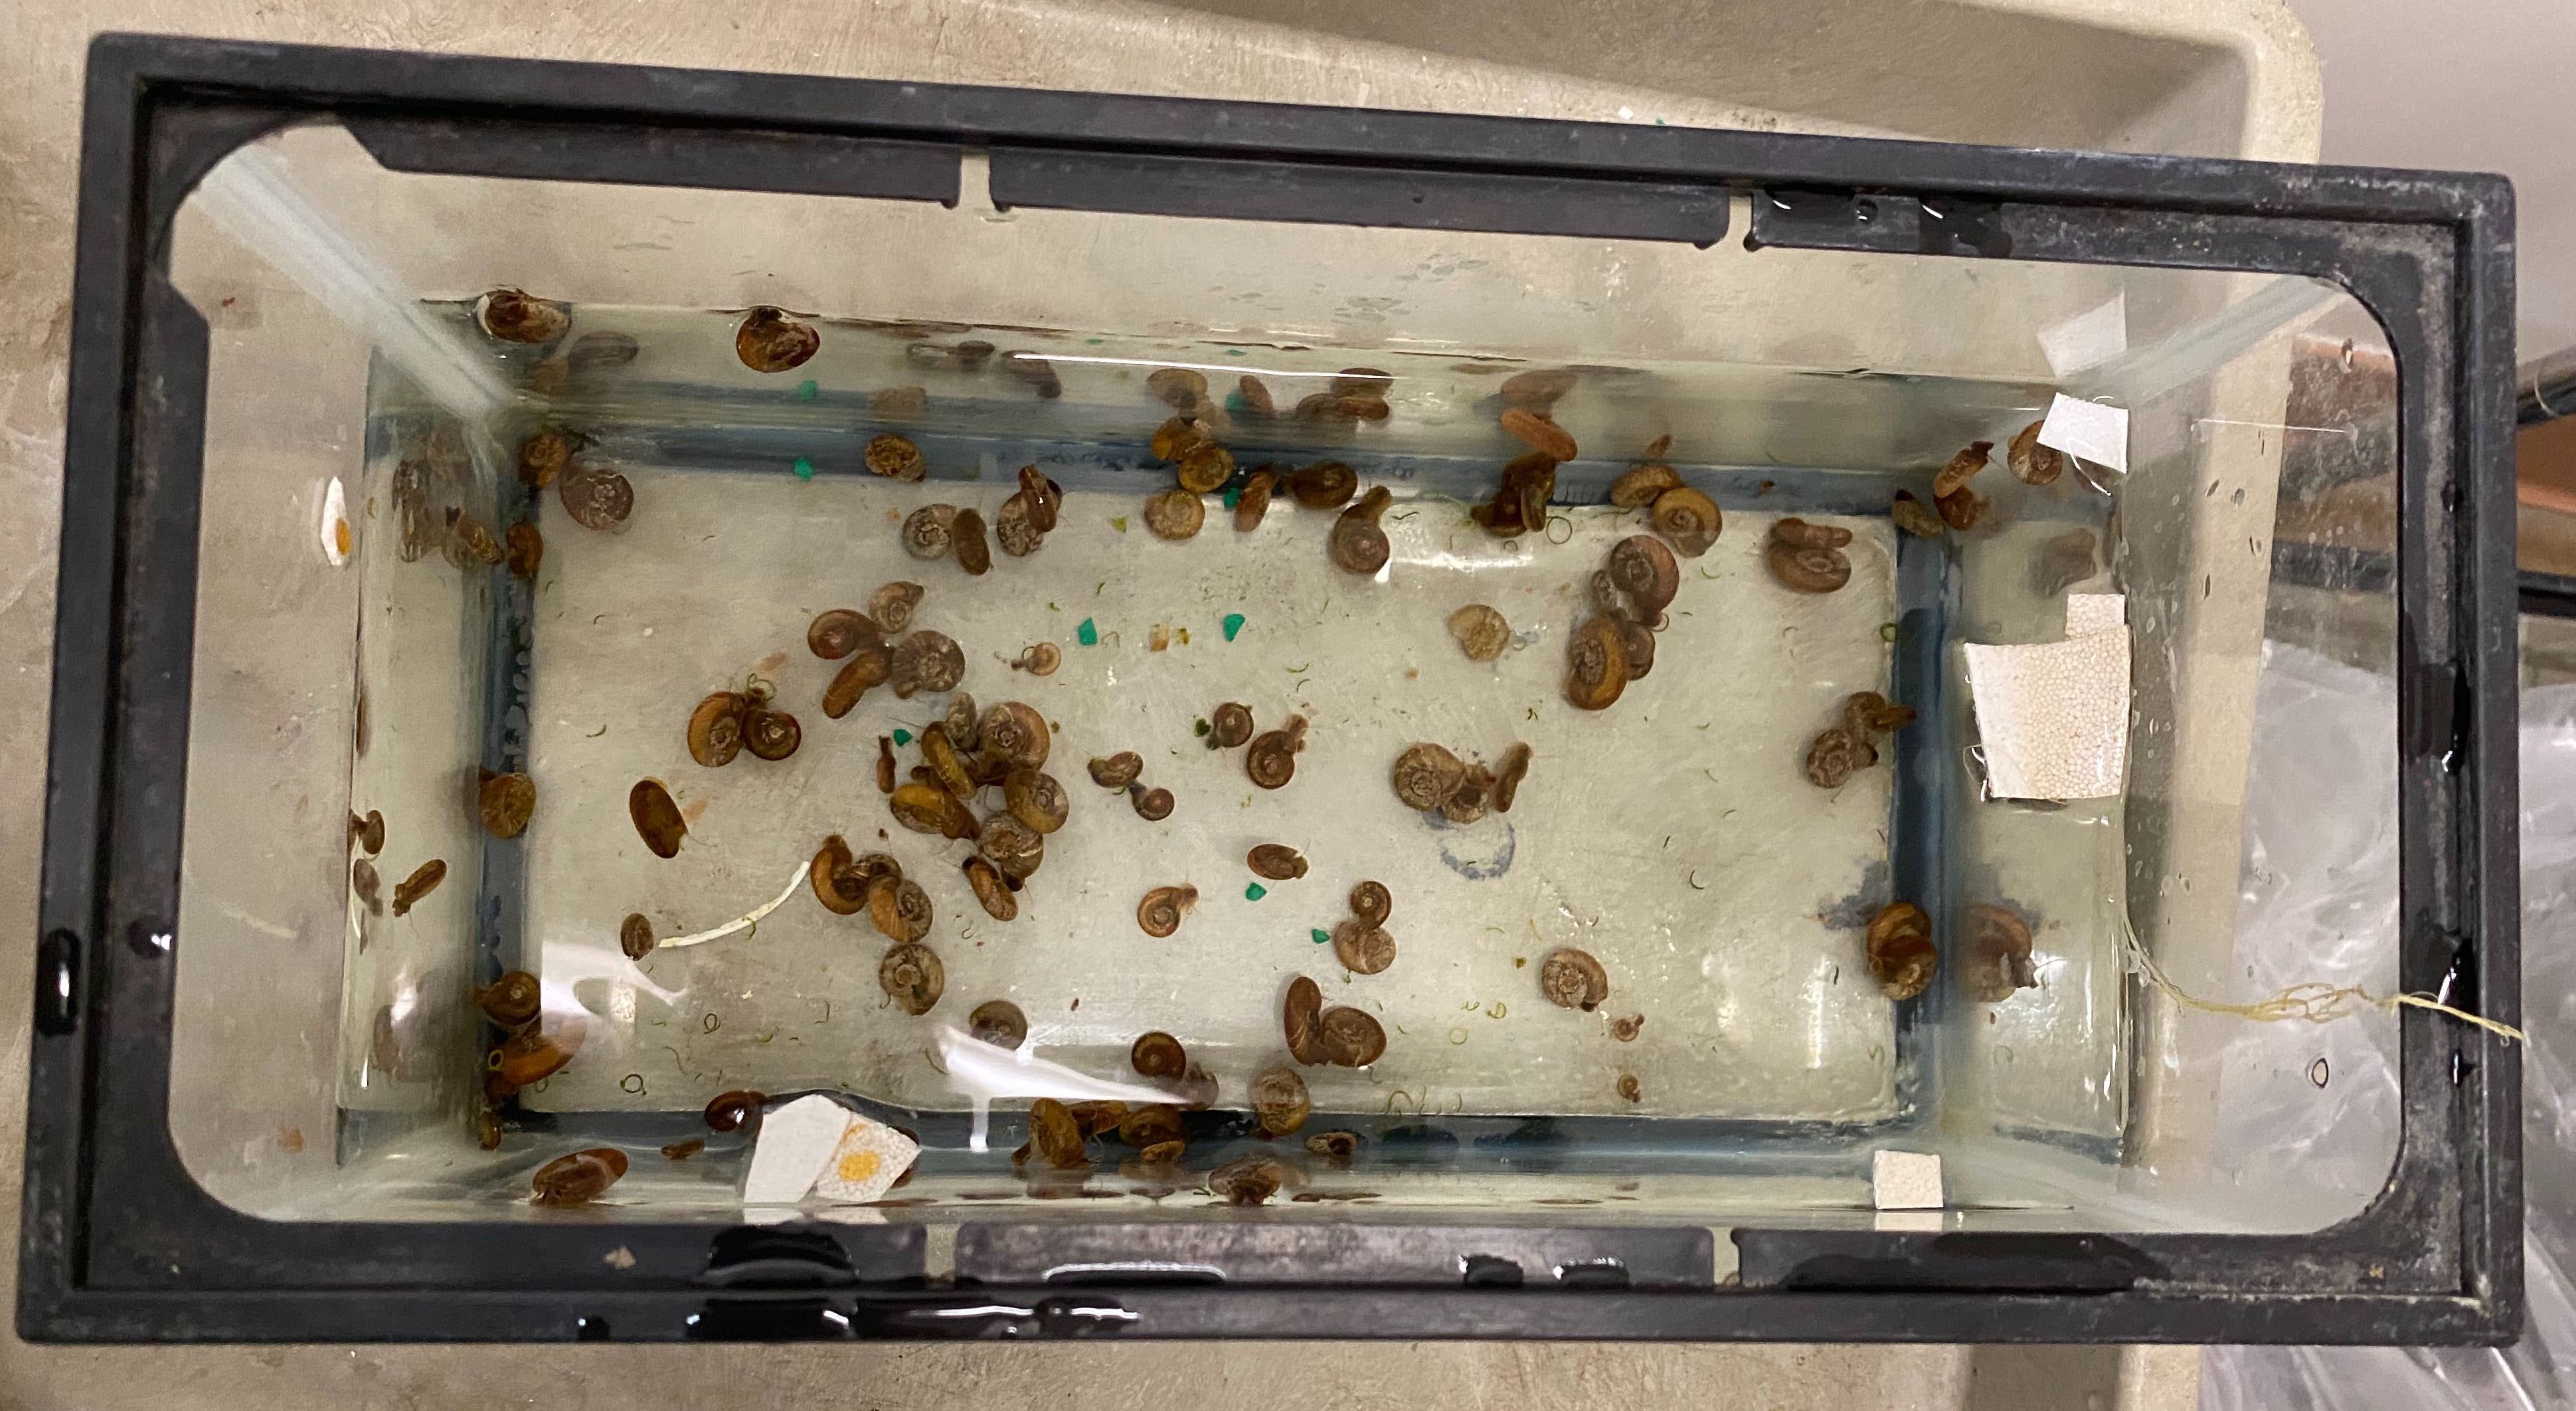
Note: You can tell if the snails are living if you can see the body of the snail. Sometimes the body retracts into the shell, but you will still see the black body if you look within the apperture of the snail. Dead snails shells will be empty and slightly white in colour.
-
Scoop the remaining live snails with your freshly gloved hand and add to the holding tank. Remove old pieces of lettuce using tongs. Inspect the old pieces of lettuce for snails. If snails are on the lettuce remove and add to the small holding tank.
-
Get two 5 gallon buckets (you will need two buckets as one bucket is not enough to hold all the old water from the tank). Put them on the floor next to the tanks that you are emptying. Disconnect the hoses from the grey air pump and the aerators in the tank. Rinse the hoses in the sink using DI water. Wash the plastic lid that covers the top of the tank. Use DI water and a bottle brush scrub the lid clean. Remove styrofoam pieces.
Optional: Inspect the styrofoam pieces, if they are heavily contaminated with mites, do not transfer to the new tank. If the mite contamination is low, cut away egg sacs with no mites, and put those in the holding tank and discard the rest of the styrofoam pieces.
-
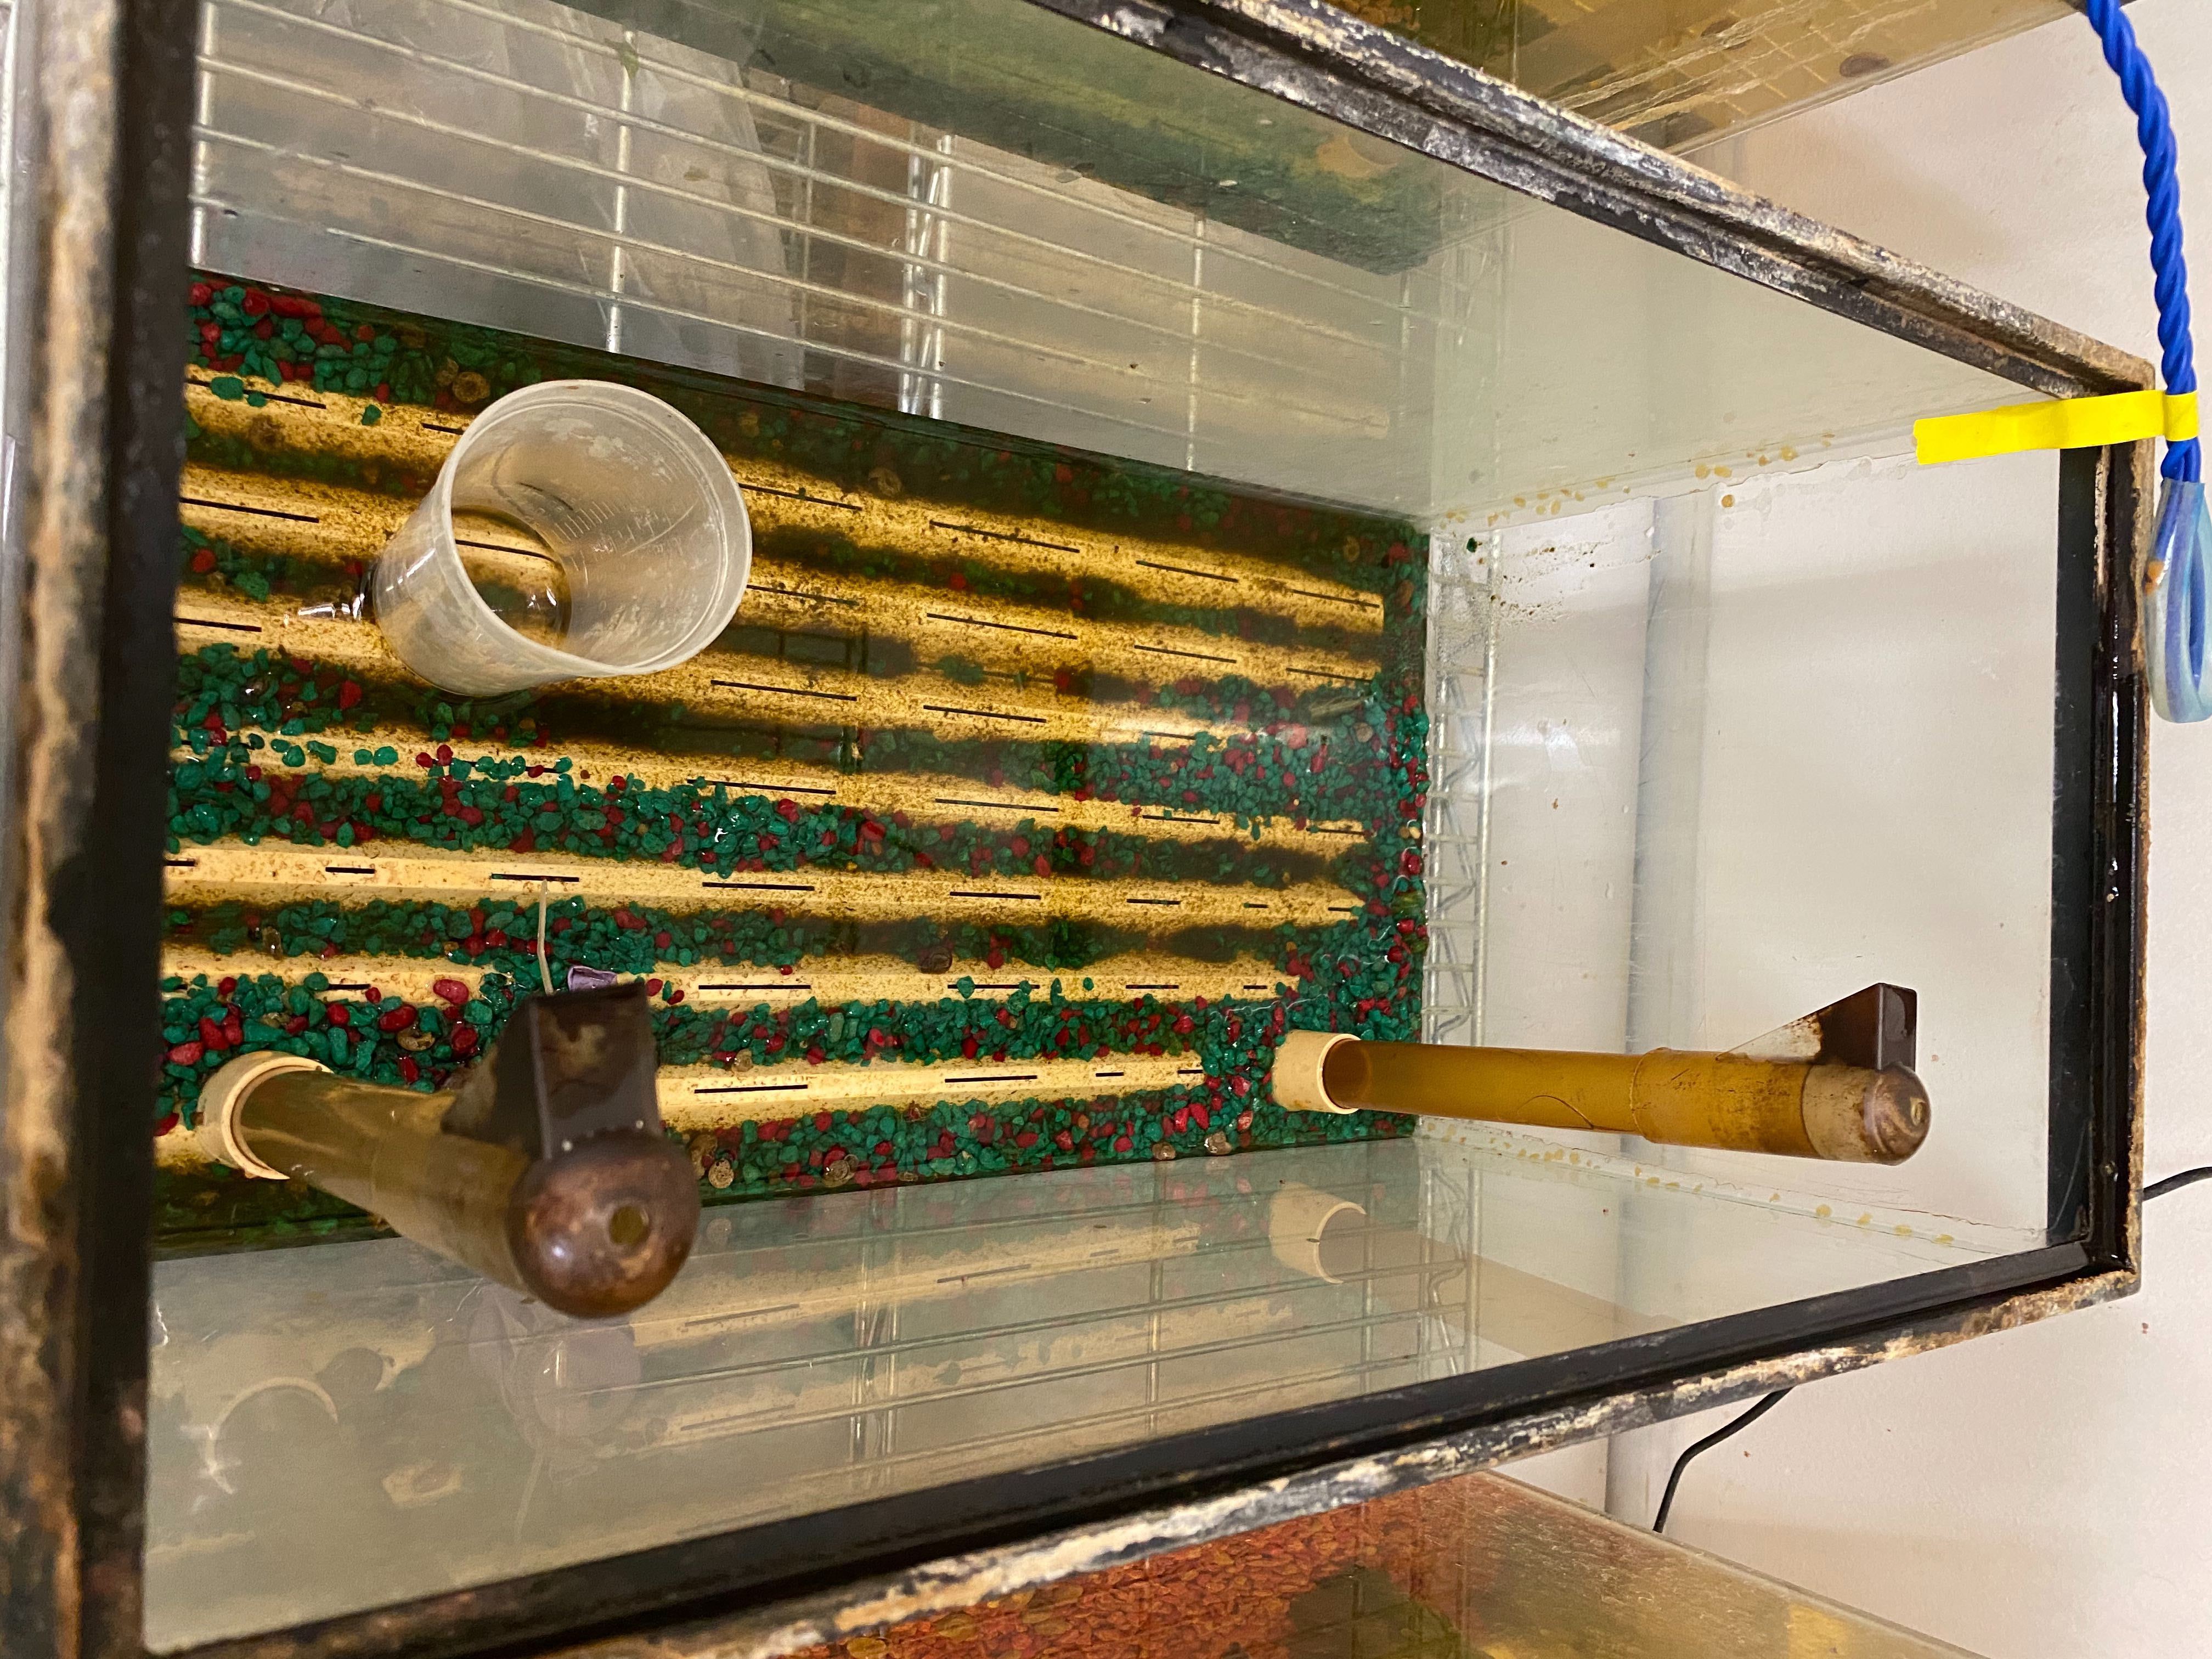
Use the syphon apparatus to remove water from the tank.
- Curl up the hose and submerge the whole syphon in the fish tank water. Put your thumb over the hose end after the syphon fills with water.
- Leave the syphon end in the tank but take the hose end, and guide the hose into the 5 gallon buckets. Release thumb, and let drain into the buckets. Empty until 1" remaining.


Note: If water is not draining, re-insert the syphon by putting your thumb over the tubing end and allow the syphon to fill with water. Try draining the water into the bucket again.
- Pick the remaining living snails out of the tank, and transfer to the holding tank. Discard dead snails into a plastic junk container and any remaining pieces of old lettuce. Empty the two 5 gallon buckets, containing old water, down the sink.
-
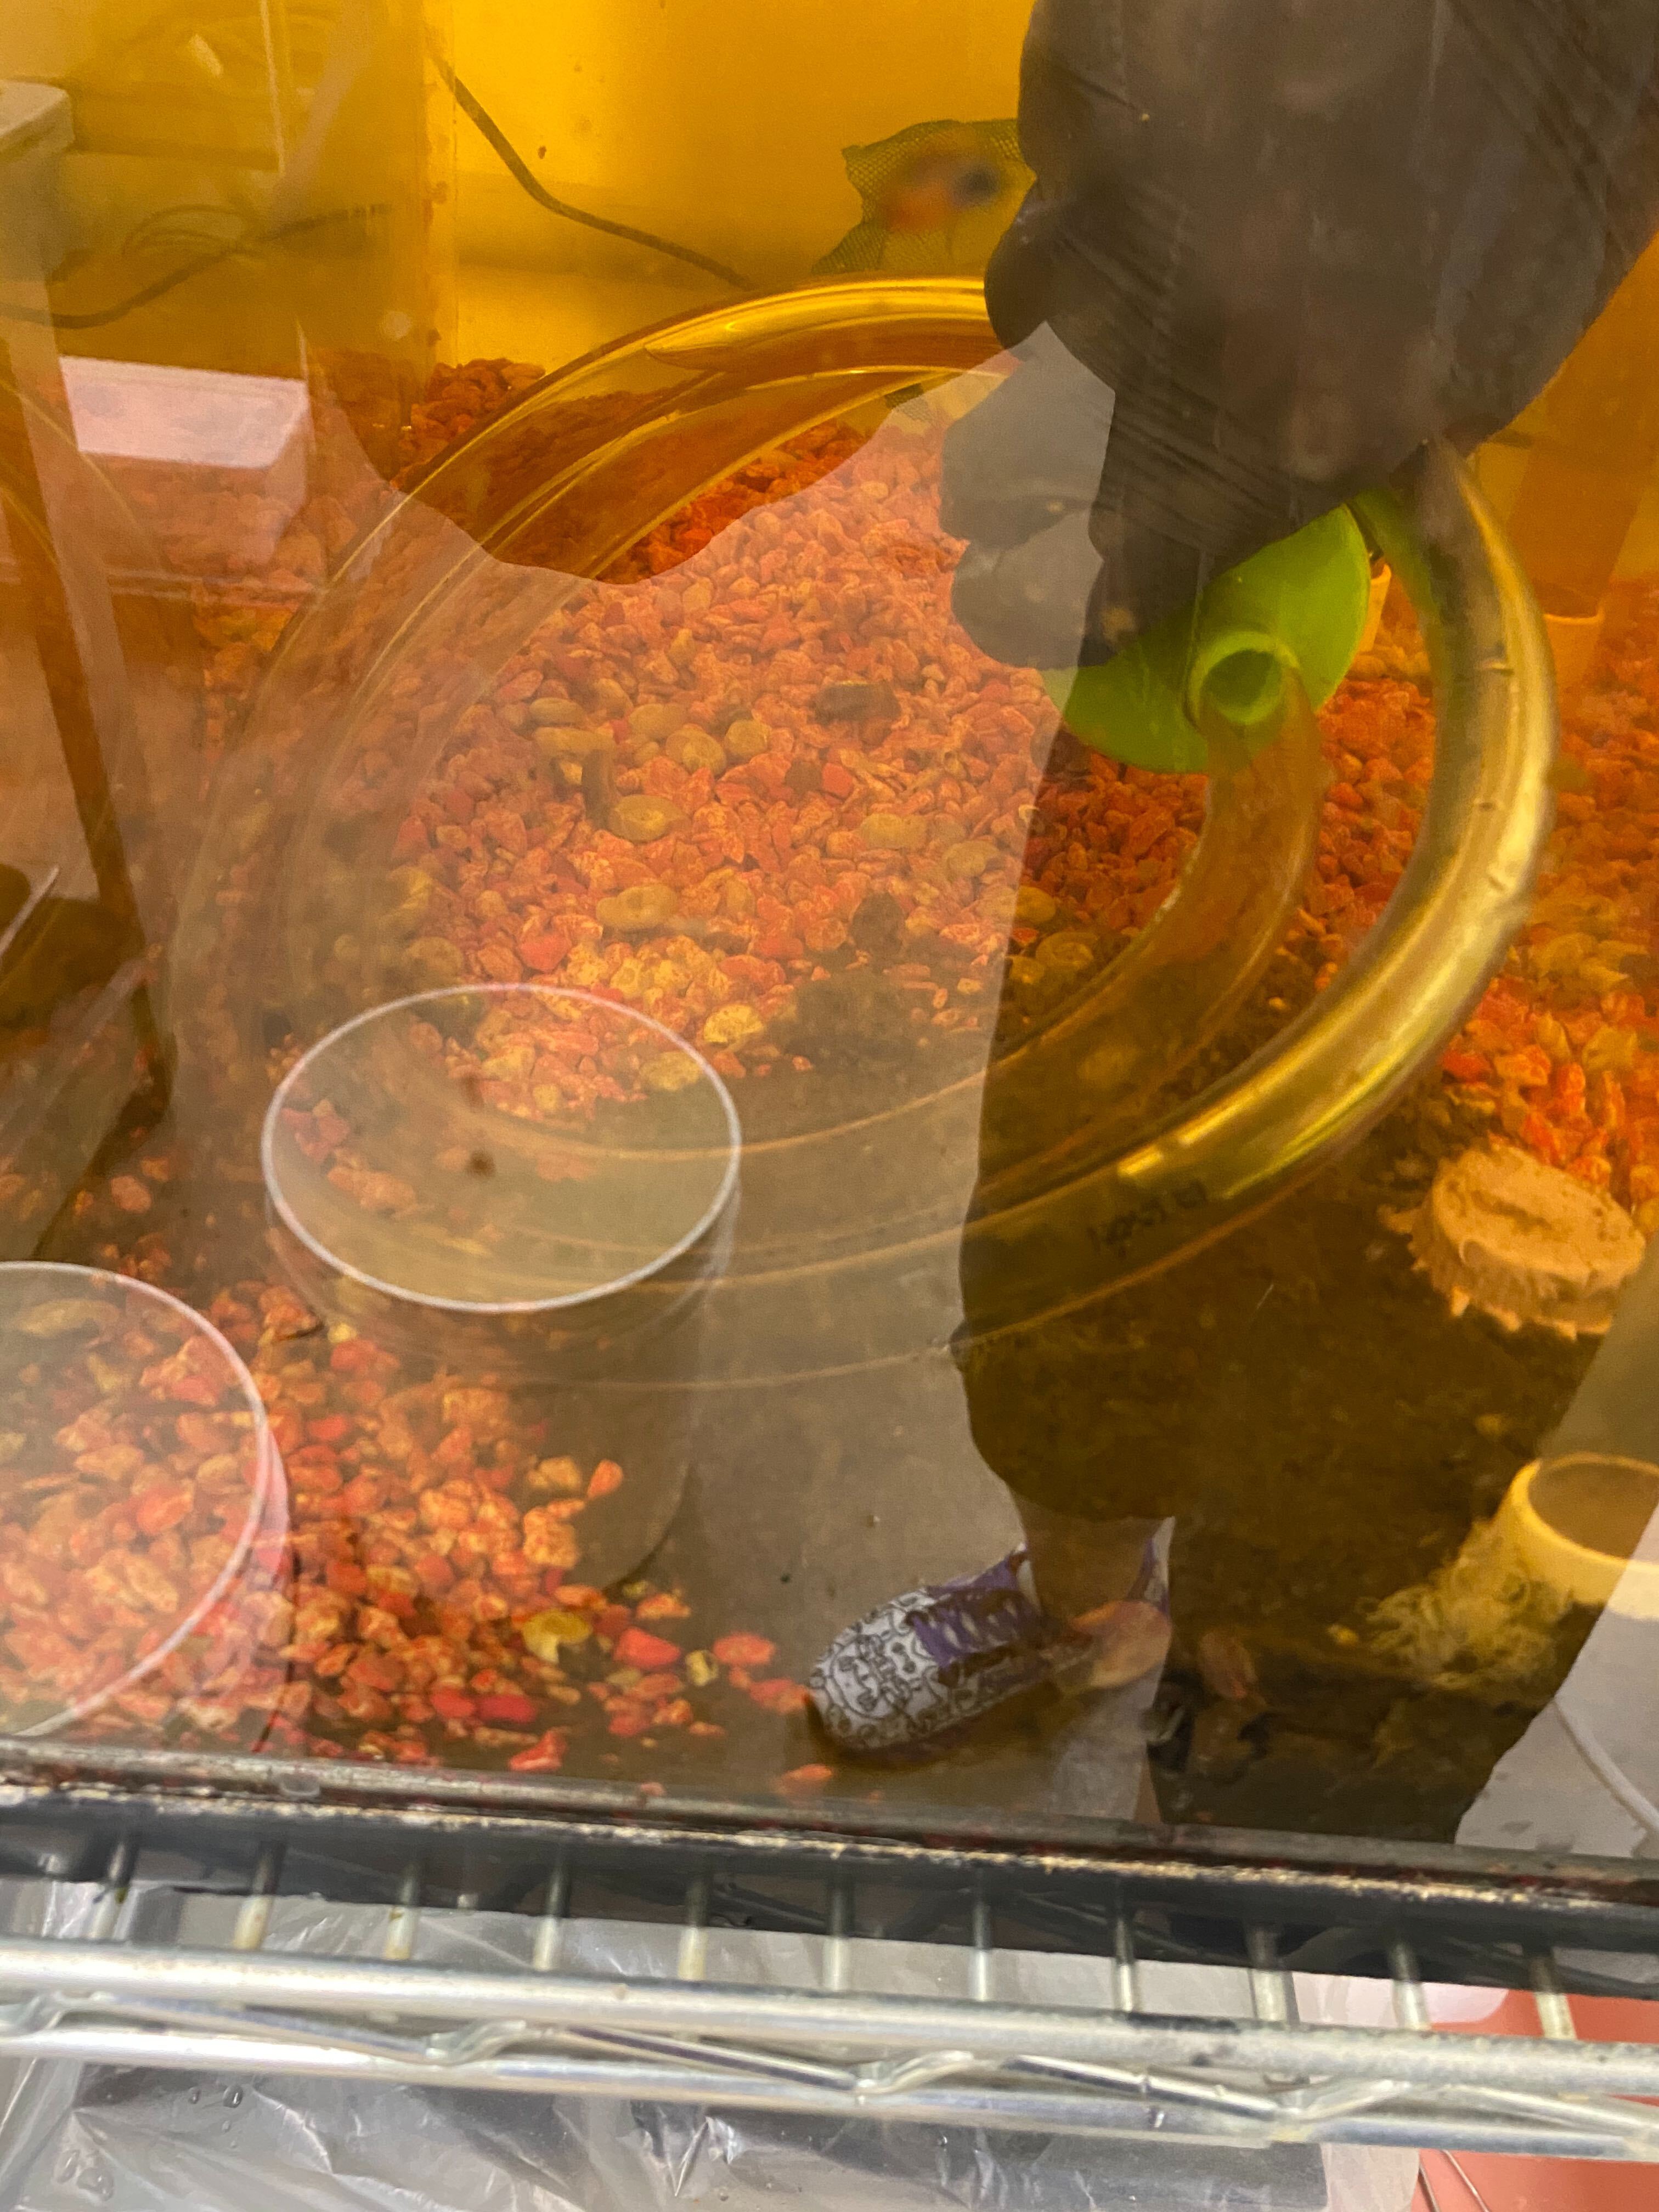
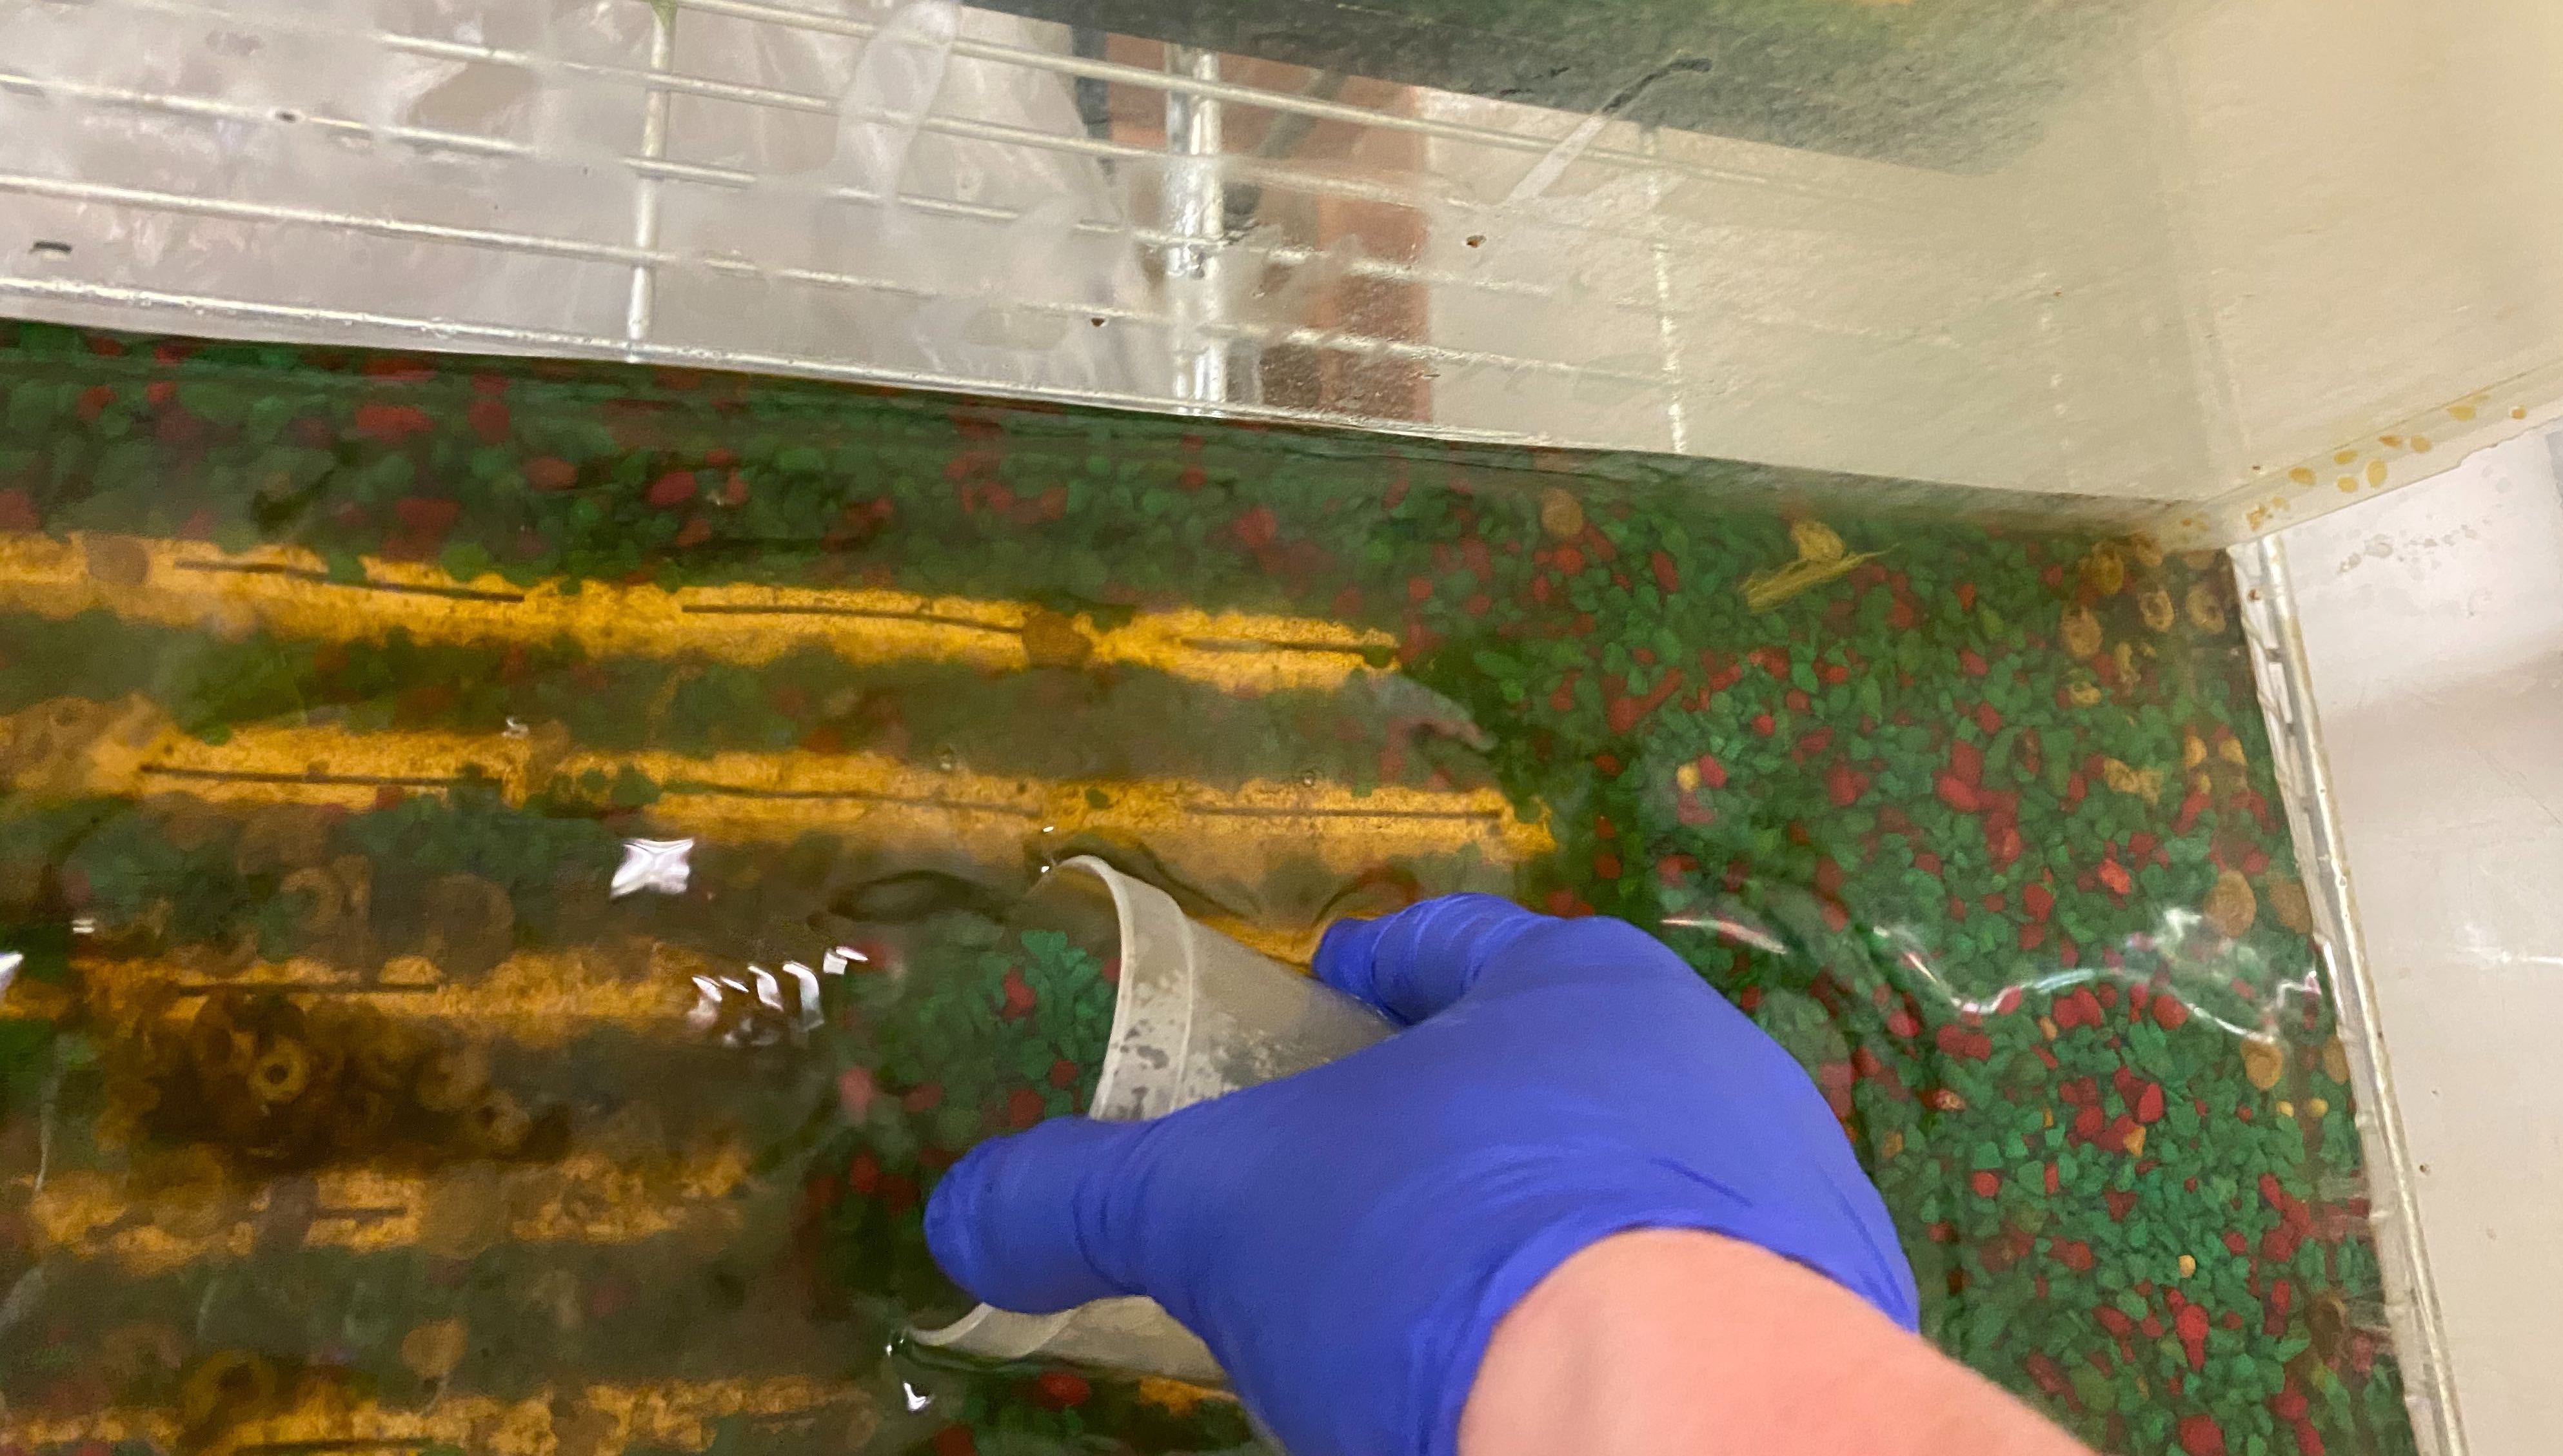
Scoop the old gravel off the bottom of the tank using a small plastic cup. You will have to sort through gravel and pick out any remaining snails and either put in holding tank (living) or junk container (dead).
-
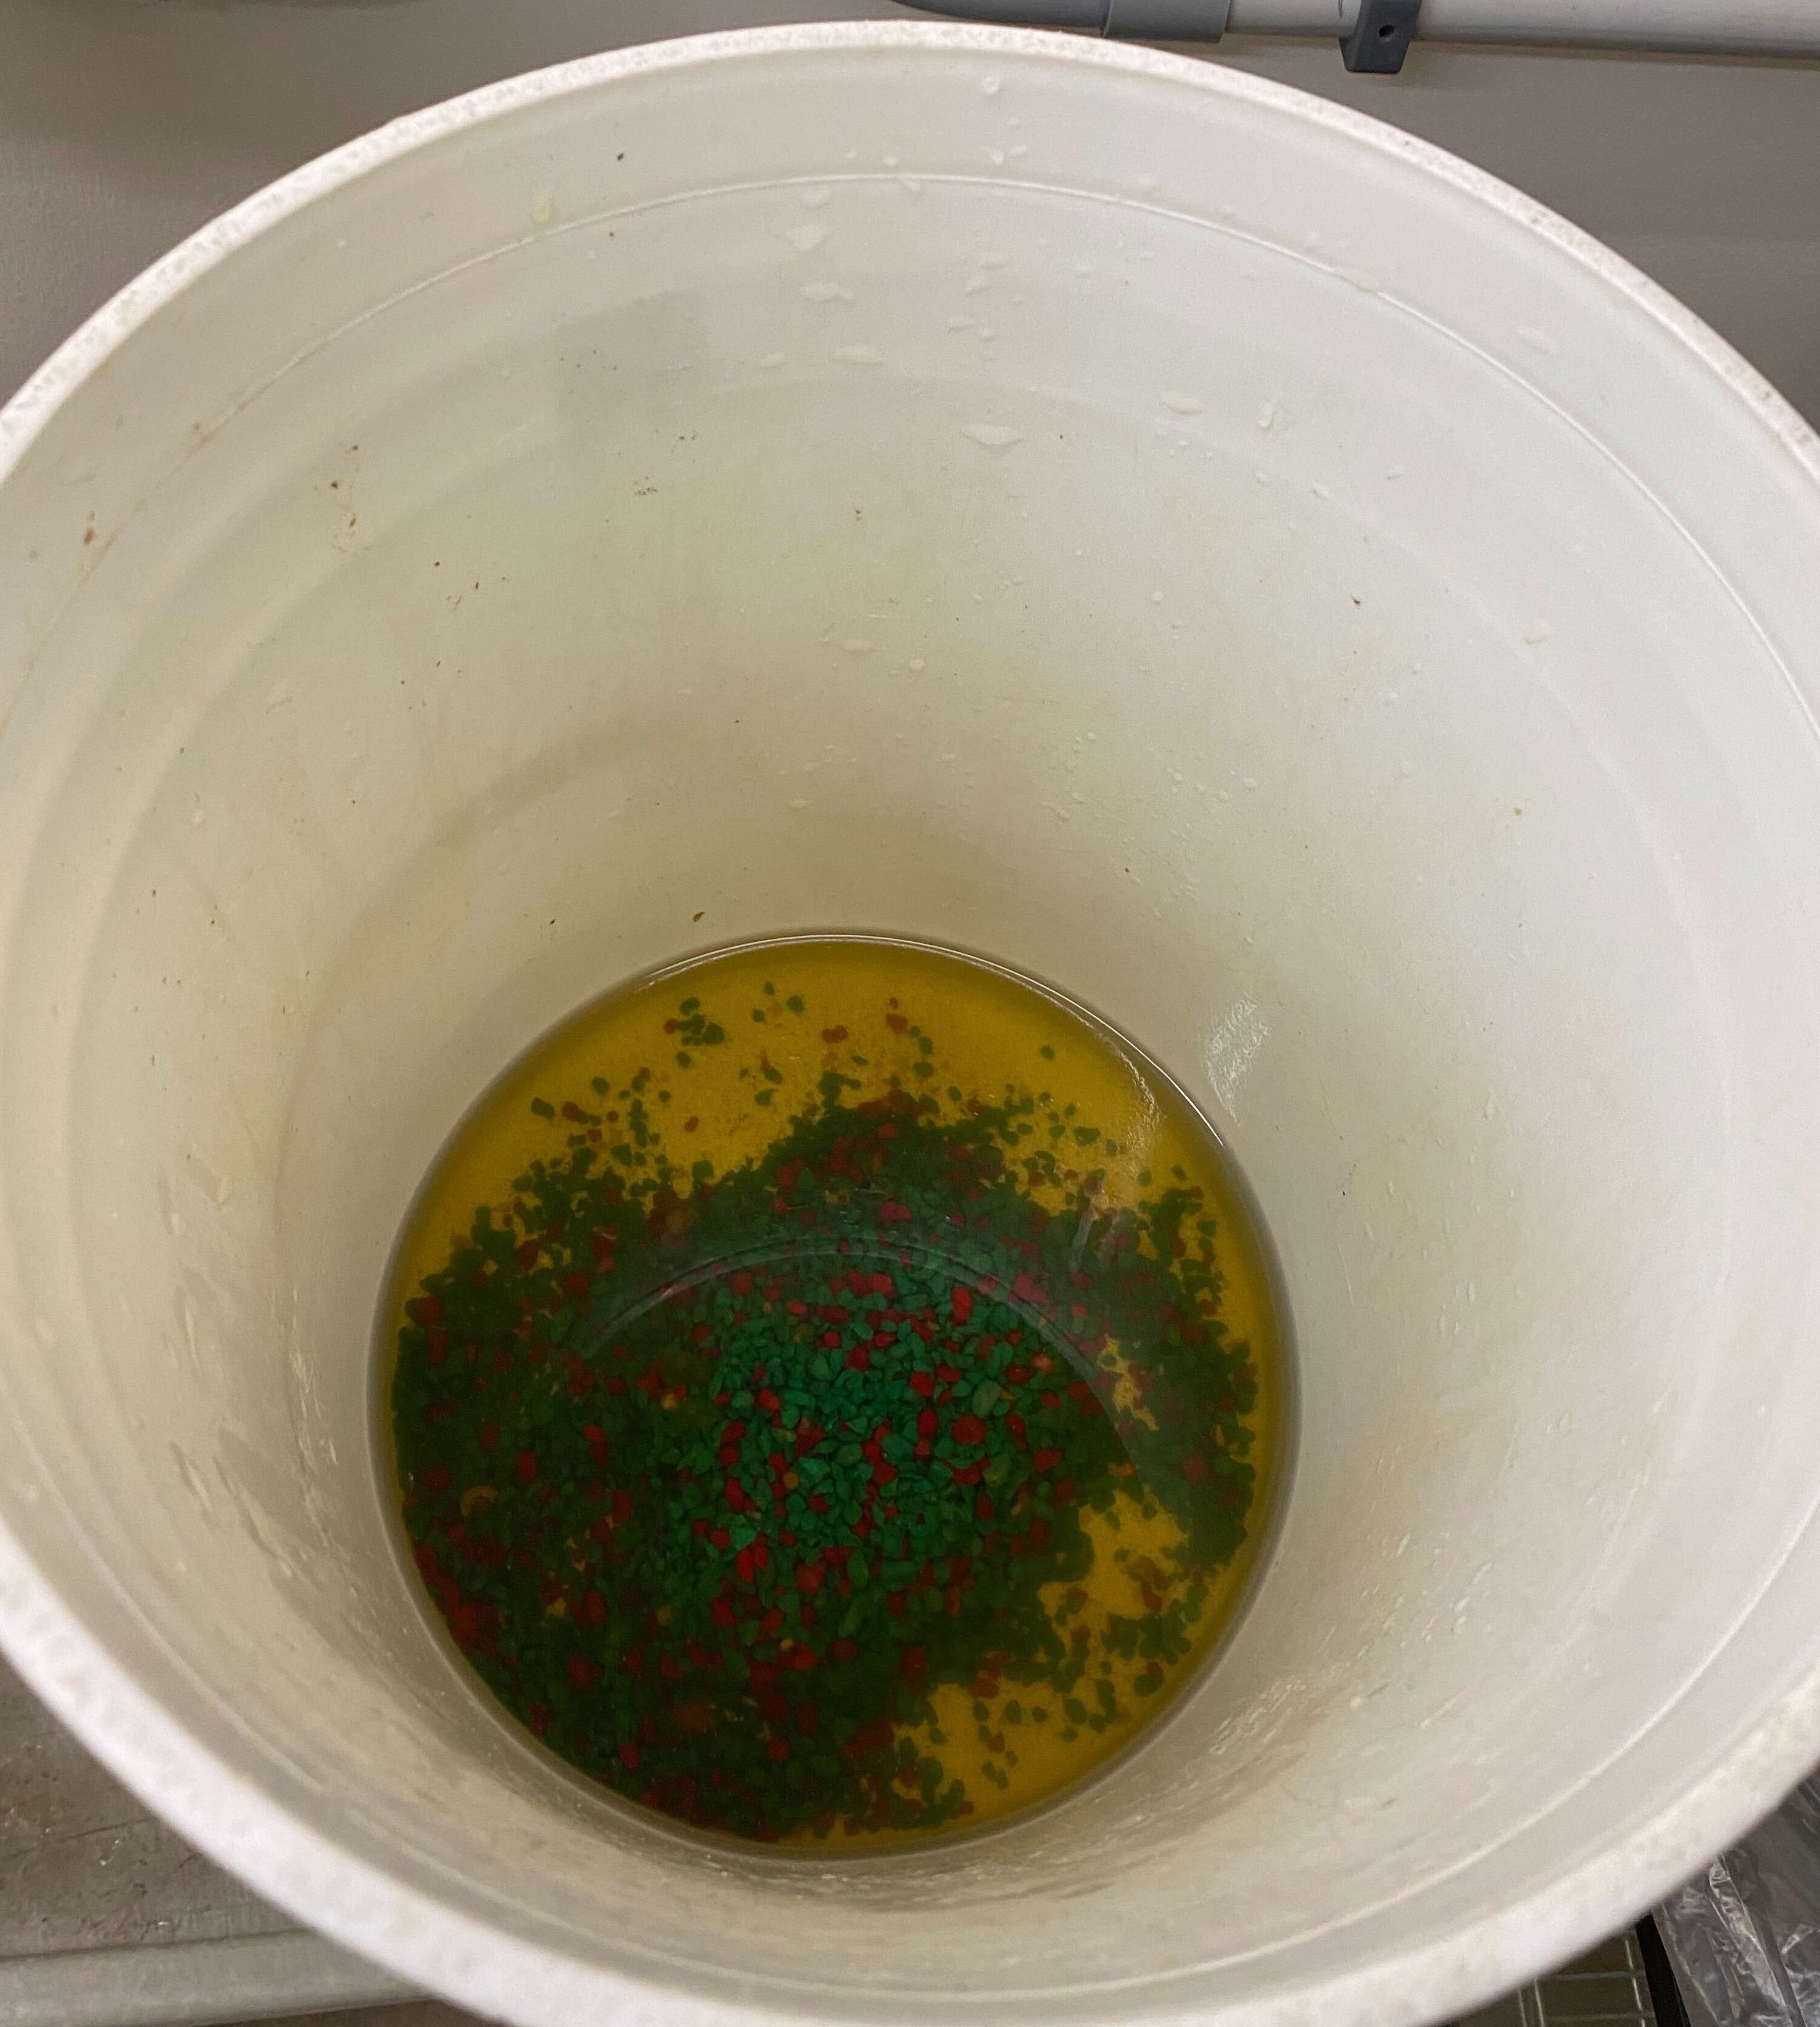
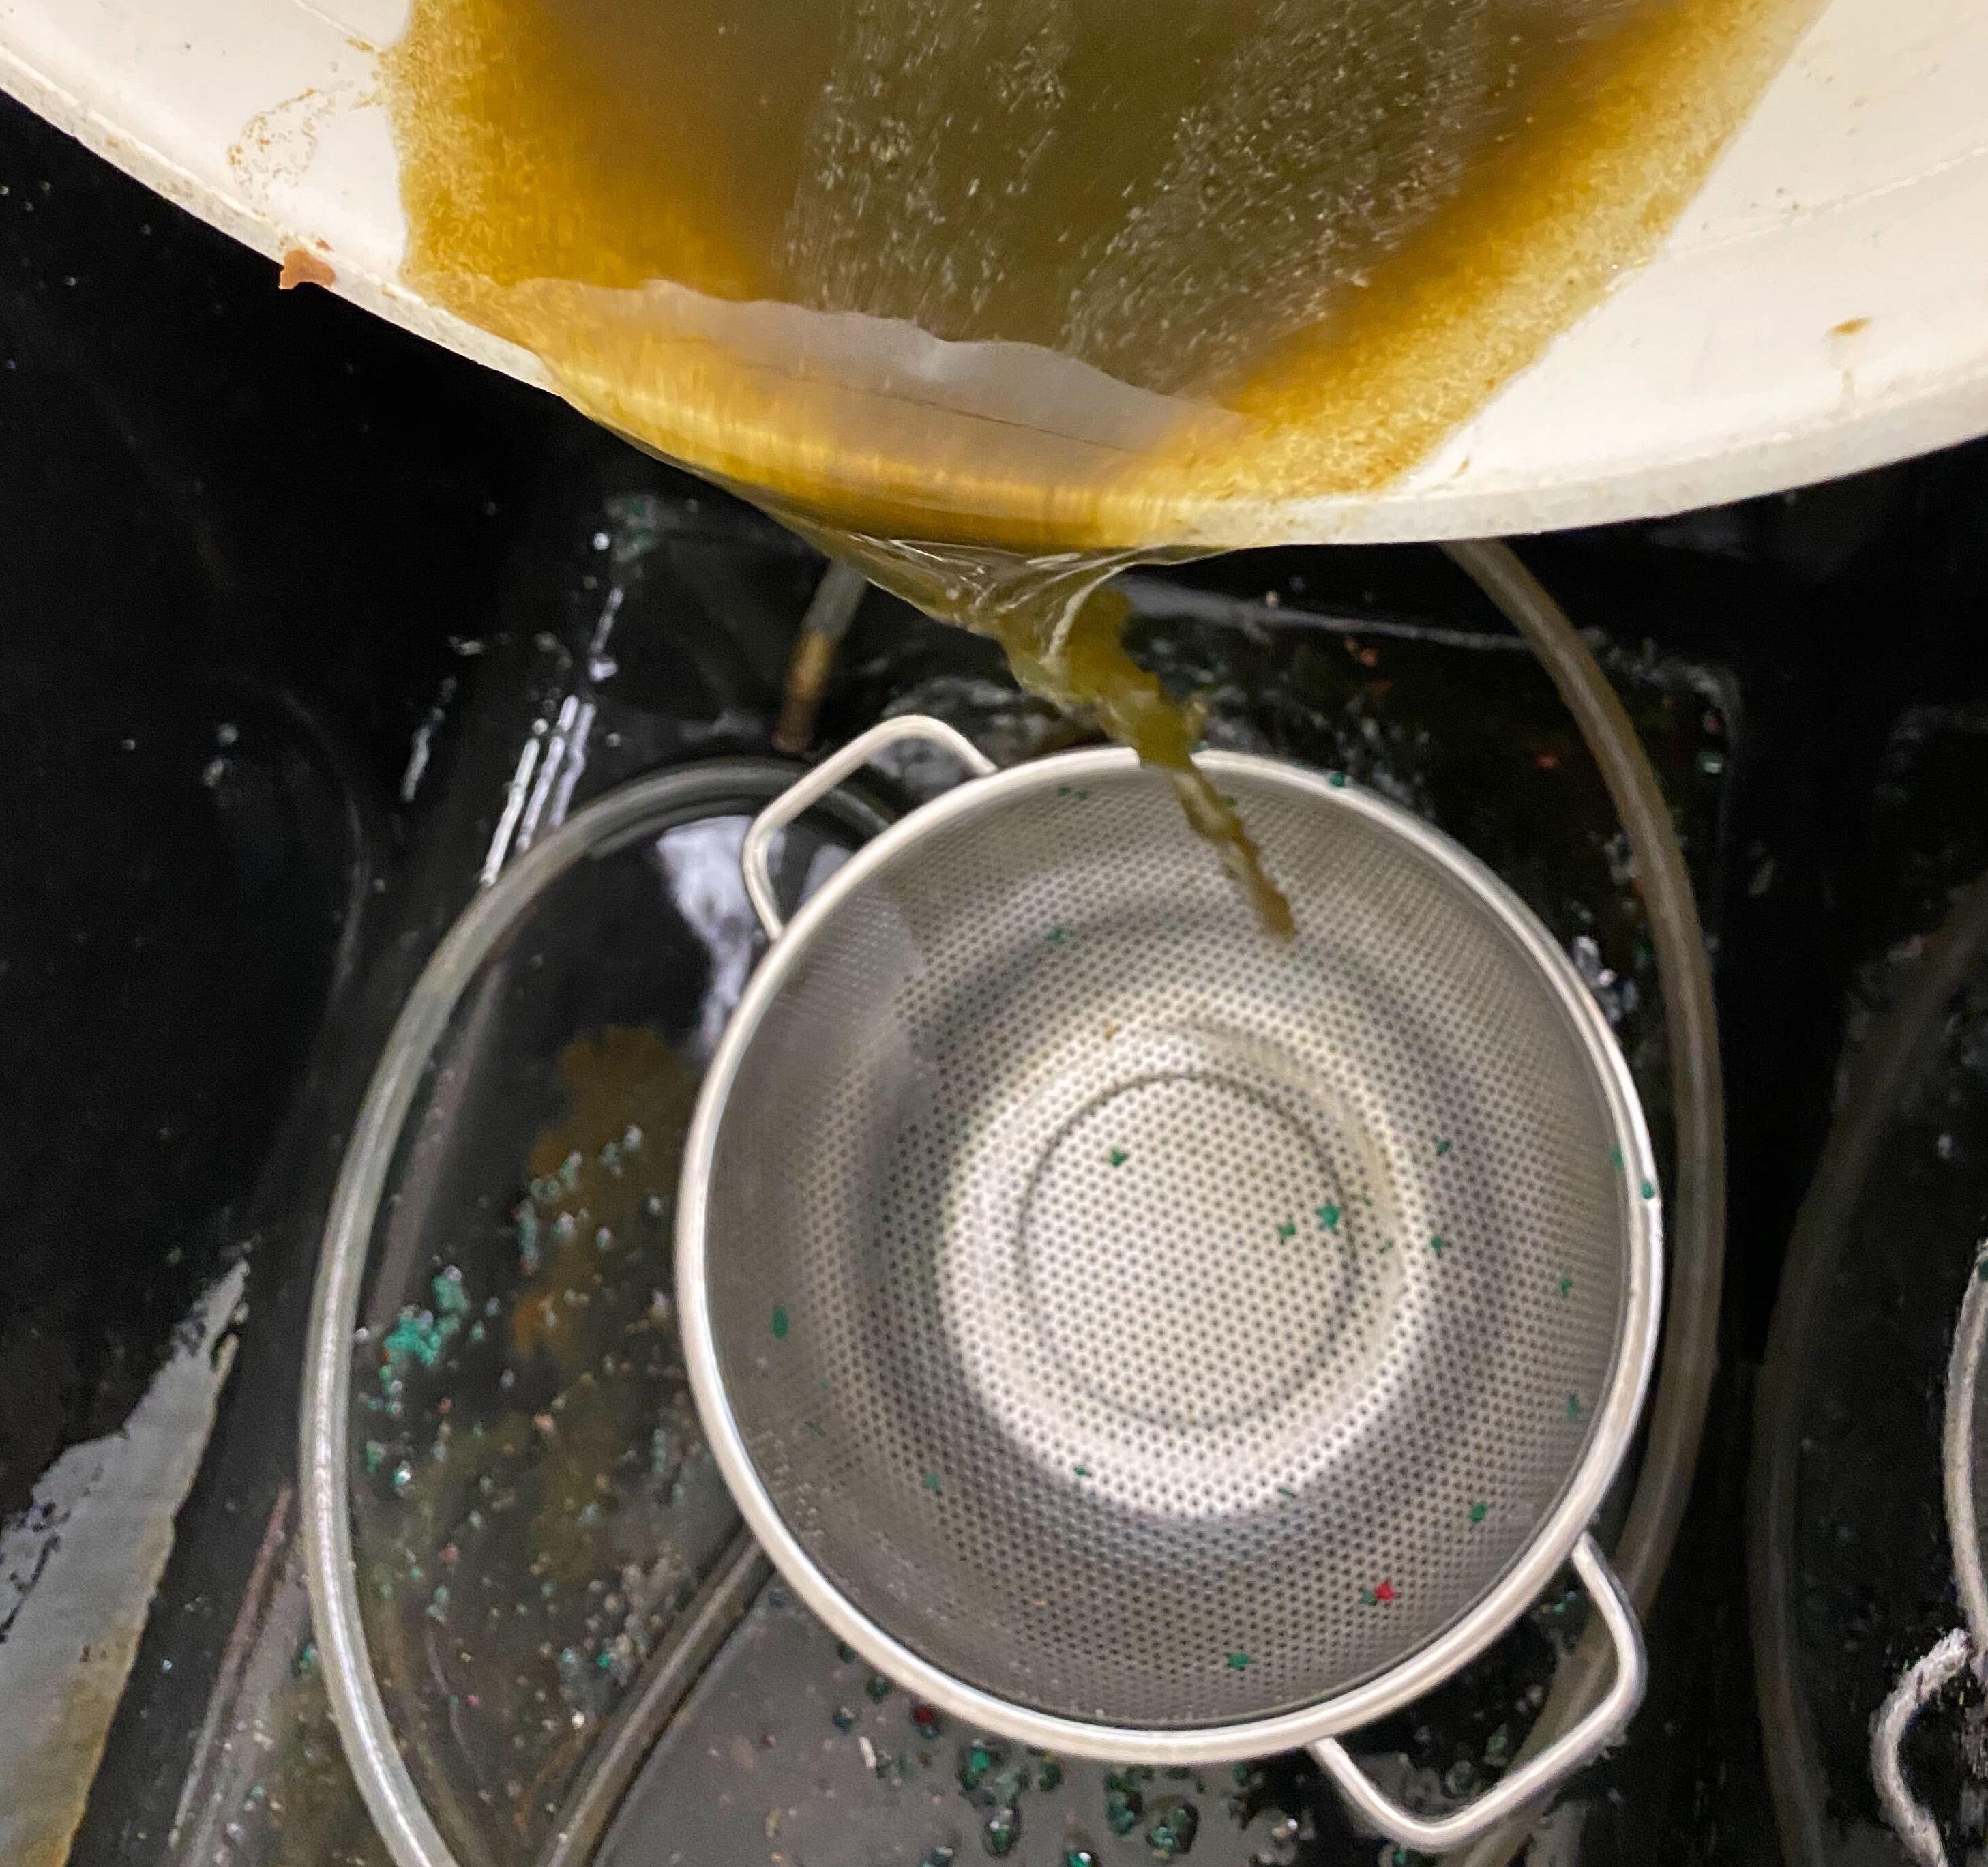
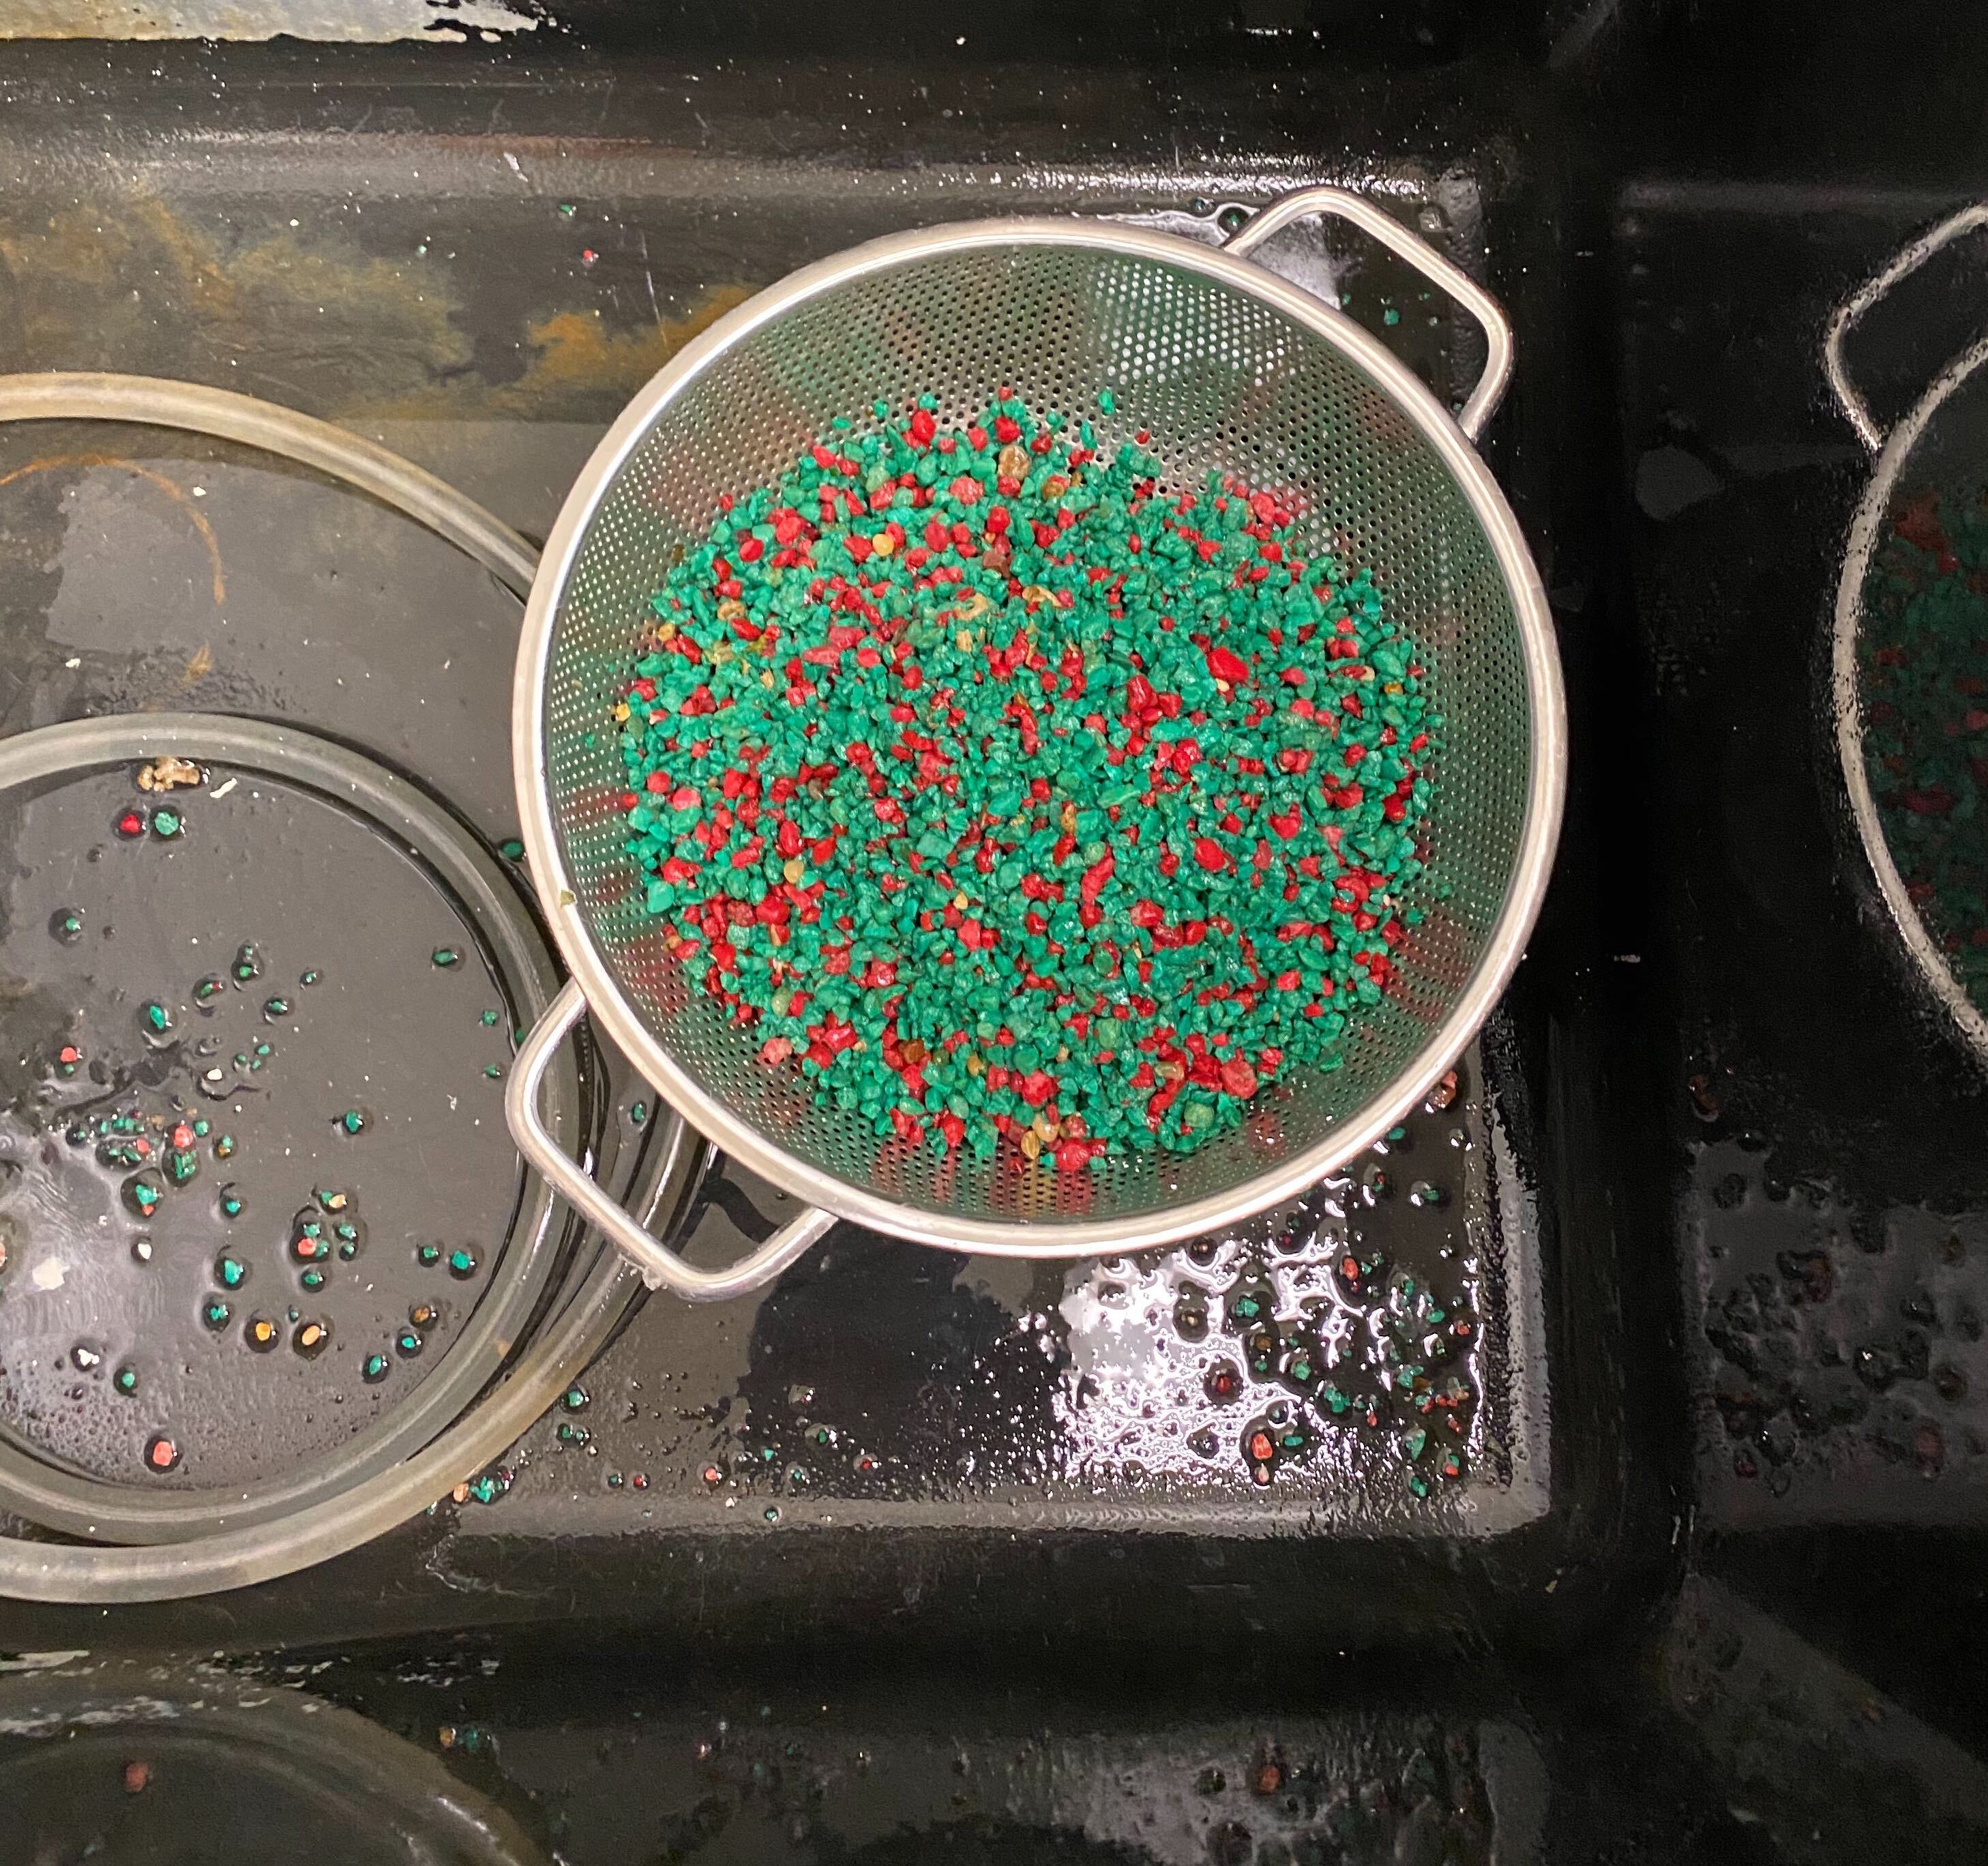
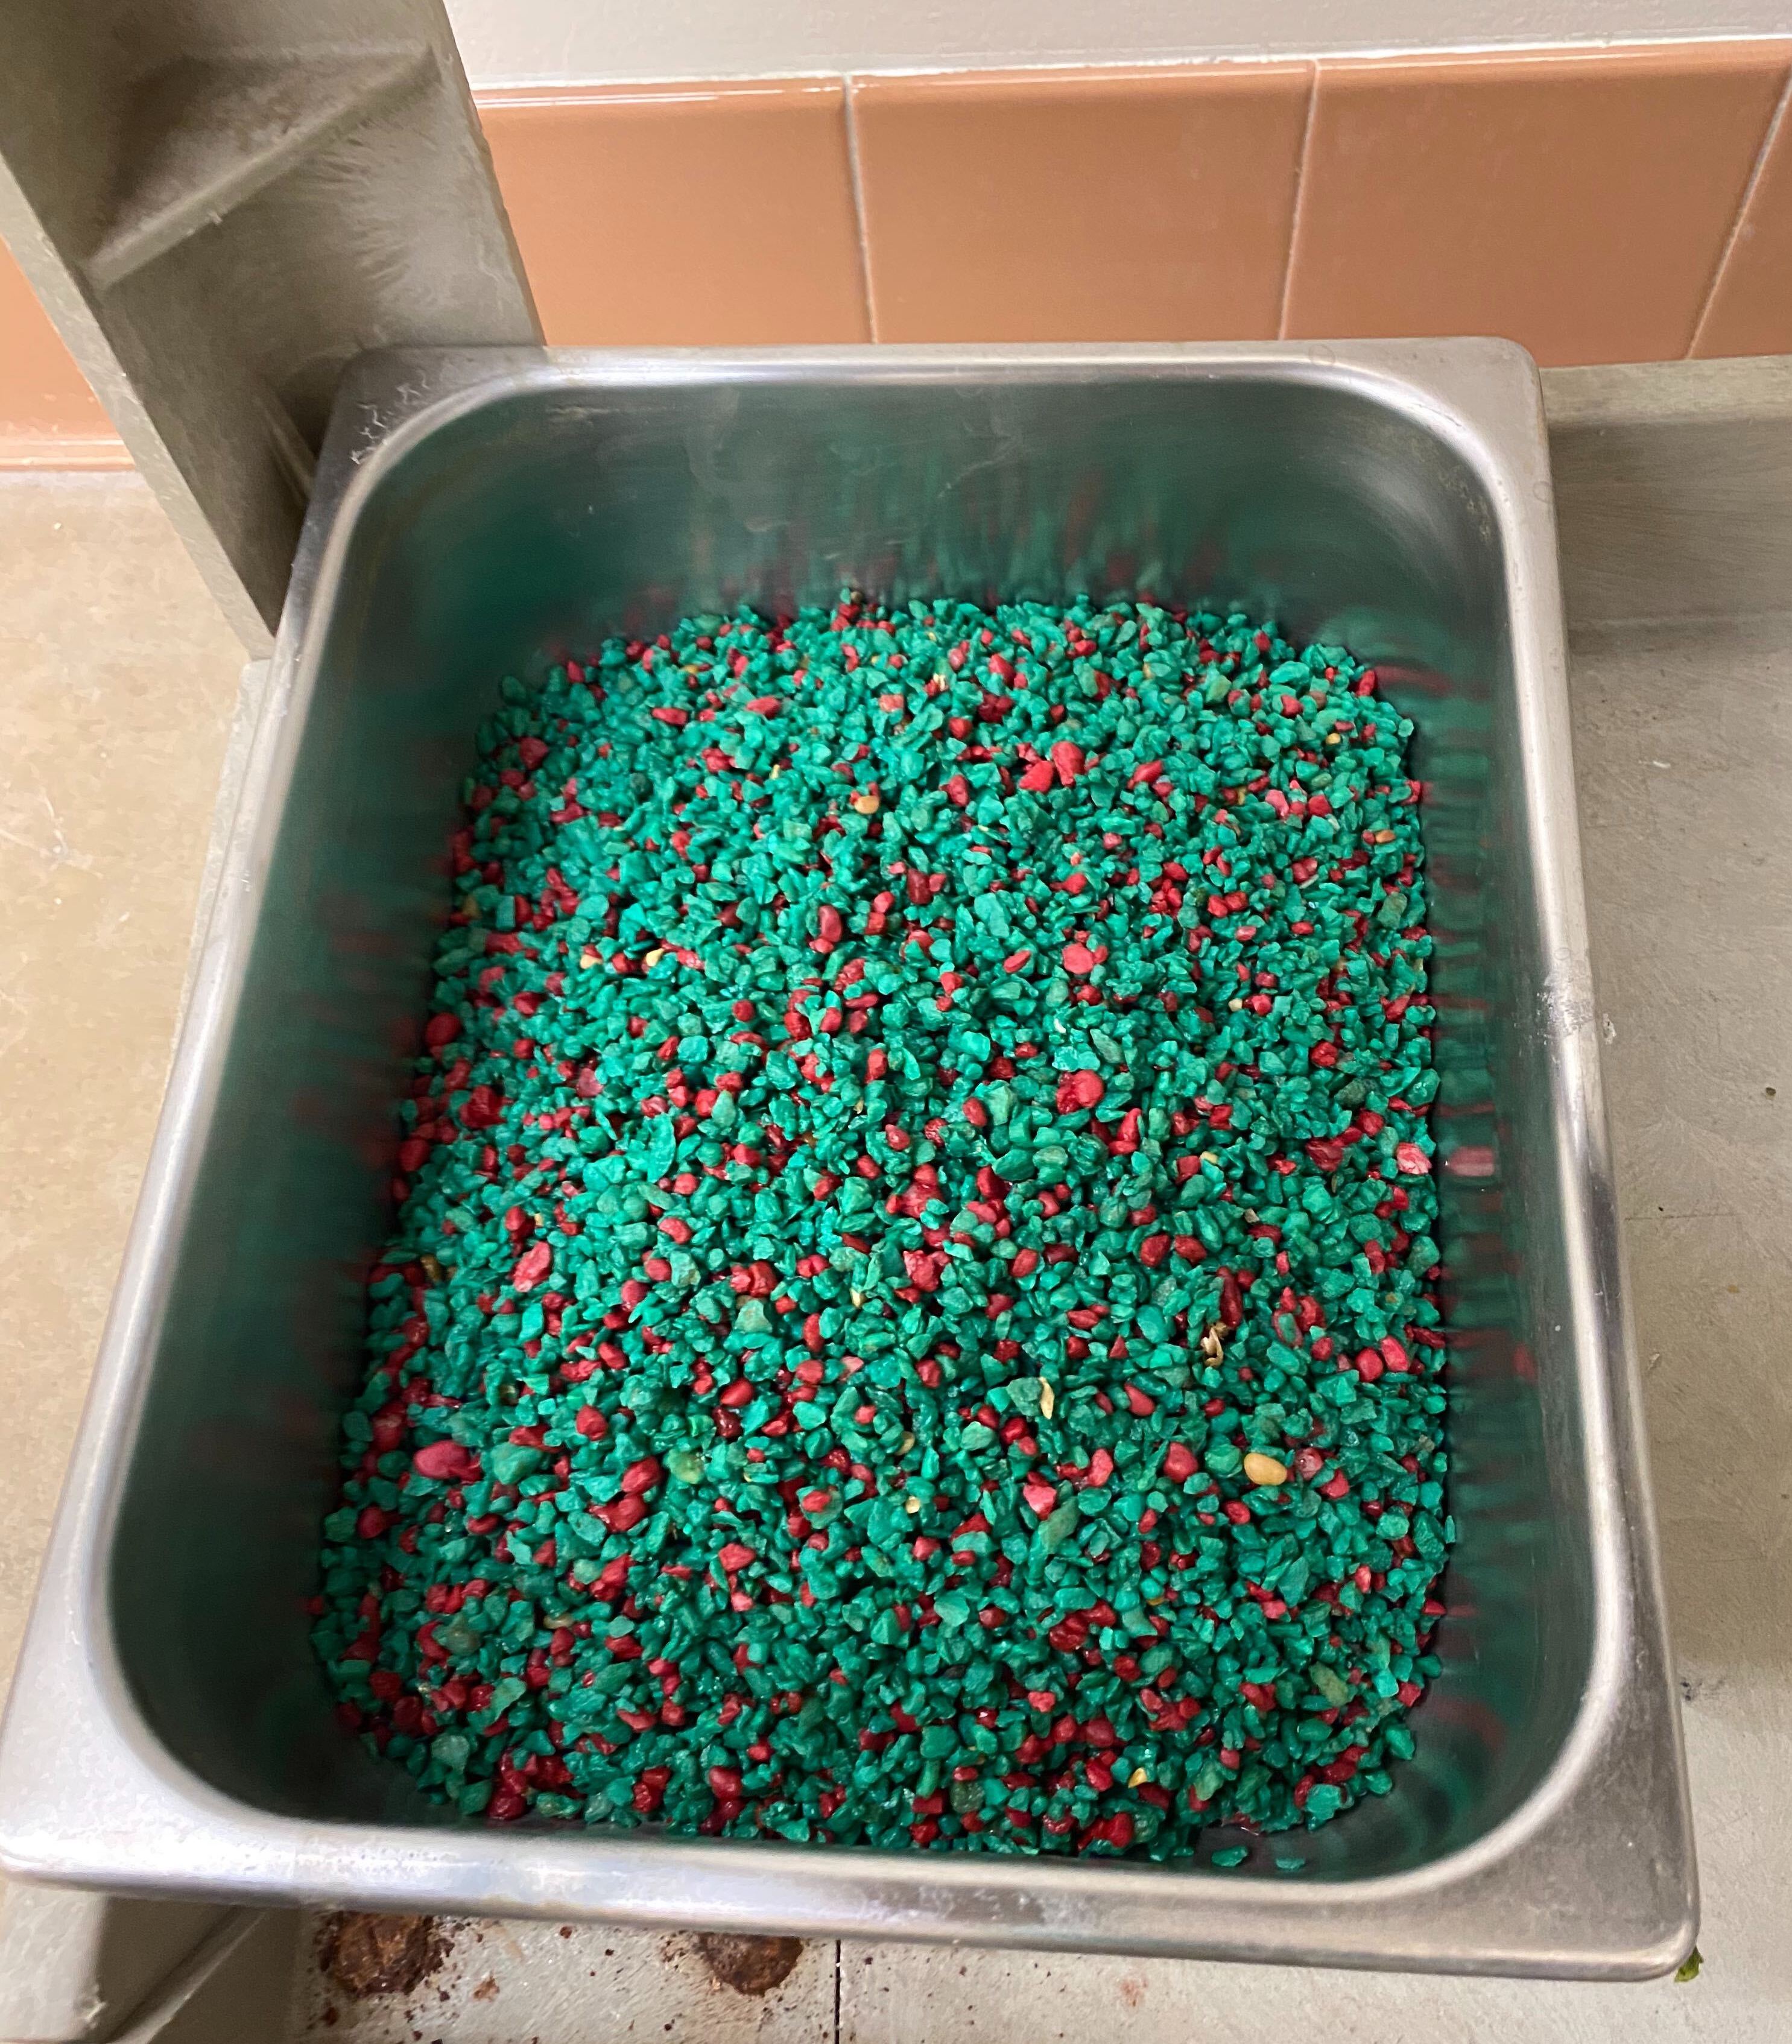
Once the gravel has been inspected for snails and debris, dump it into an emptied 5 gallon bucket. After a majority of the gravel has been emptied from the tank into the bucket, dump the gravel into a metal strainer.
-
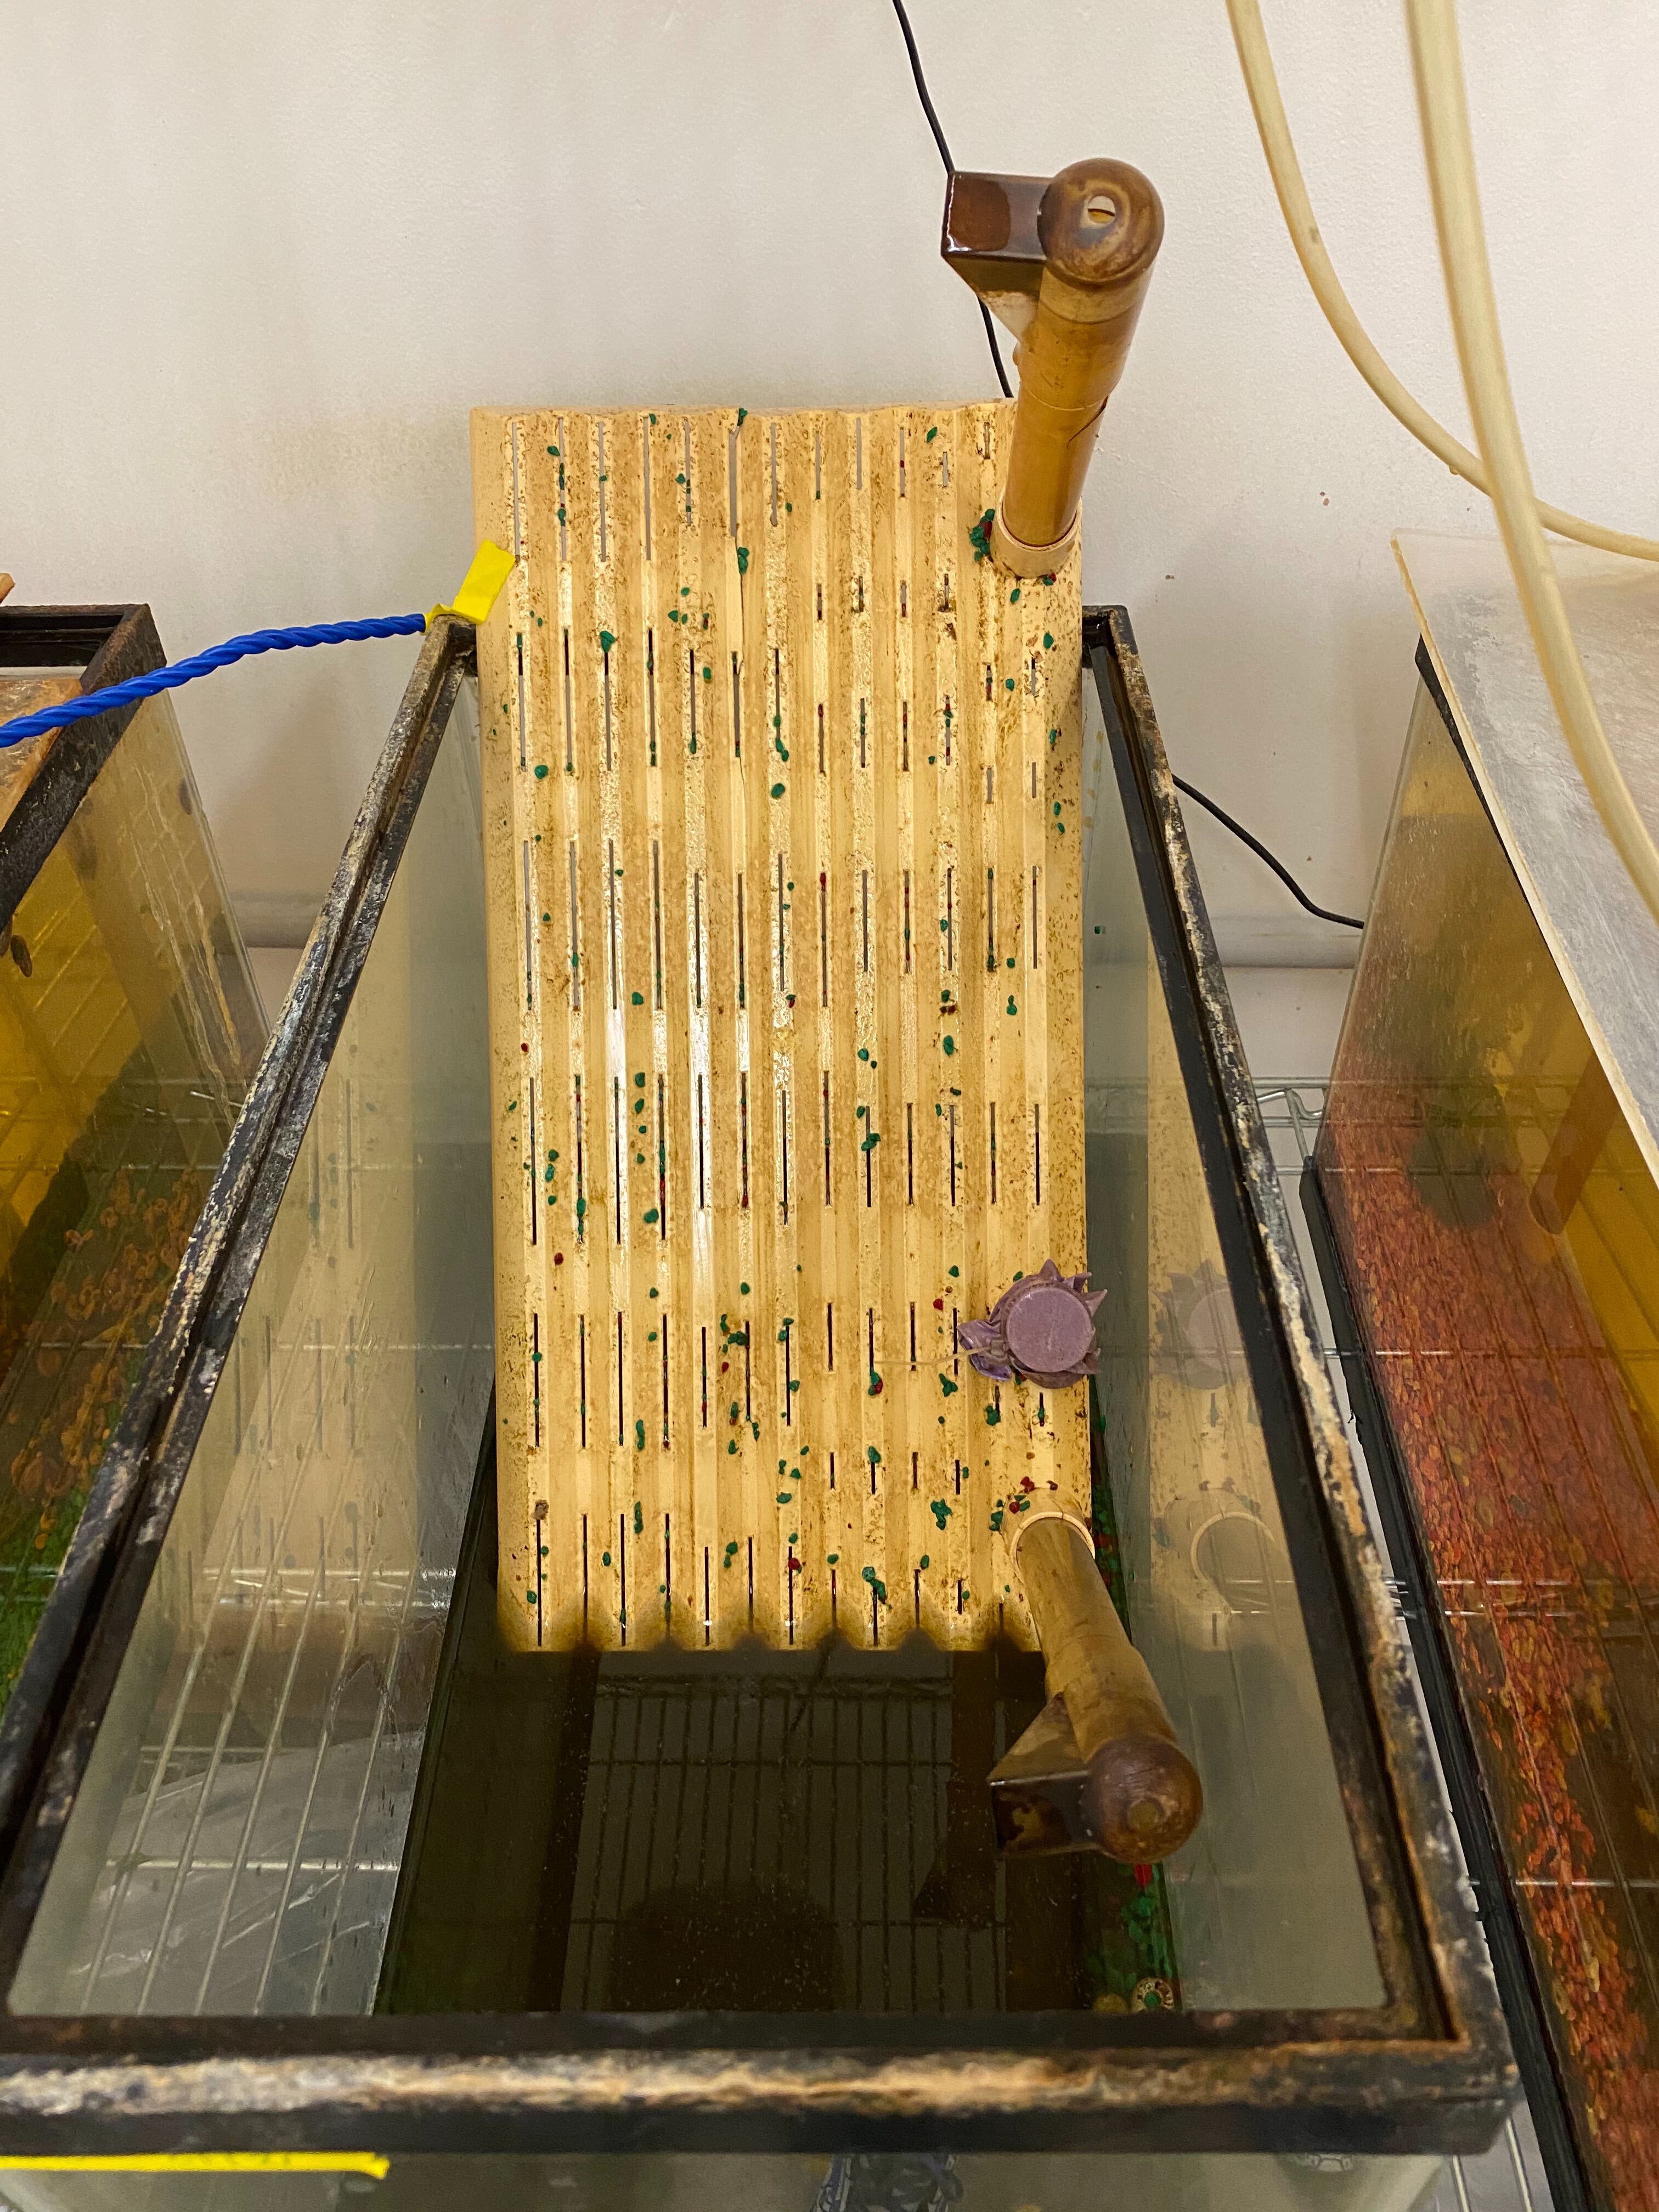
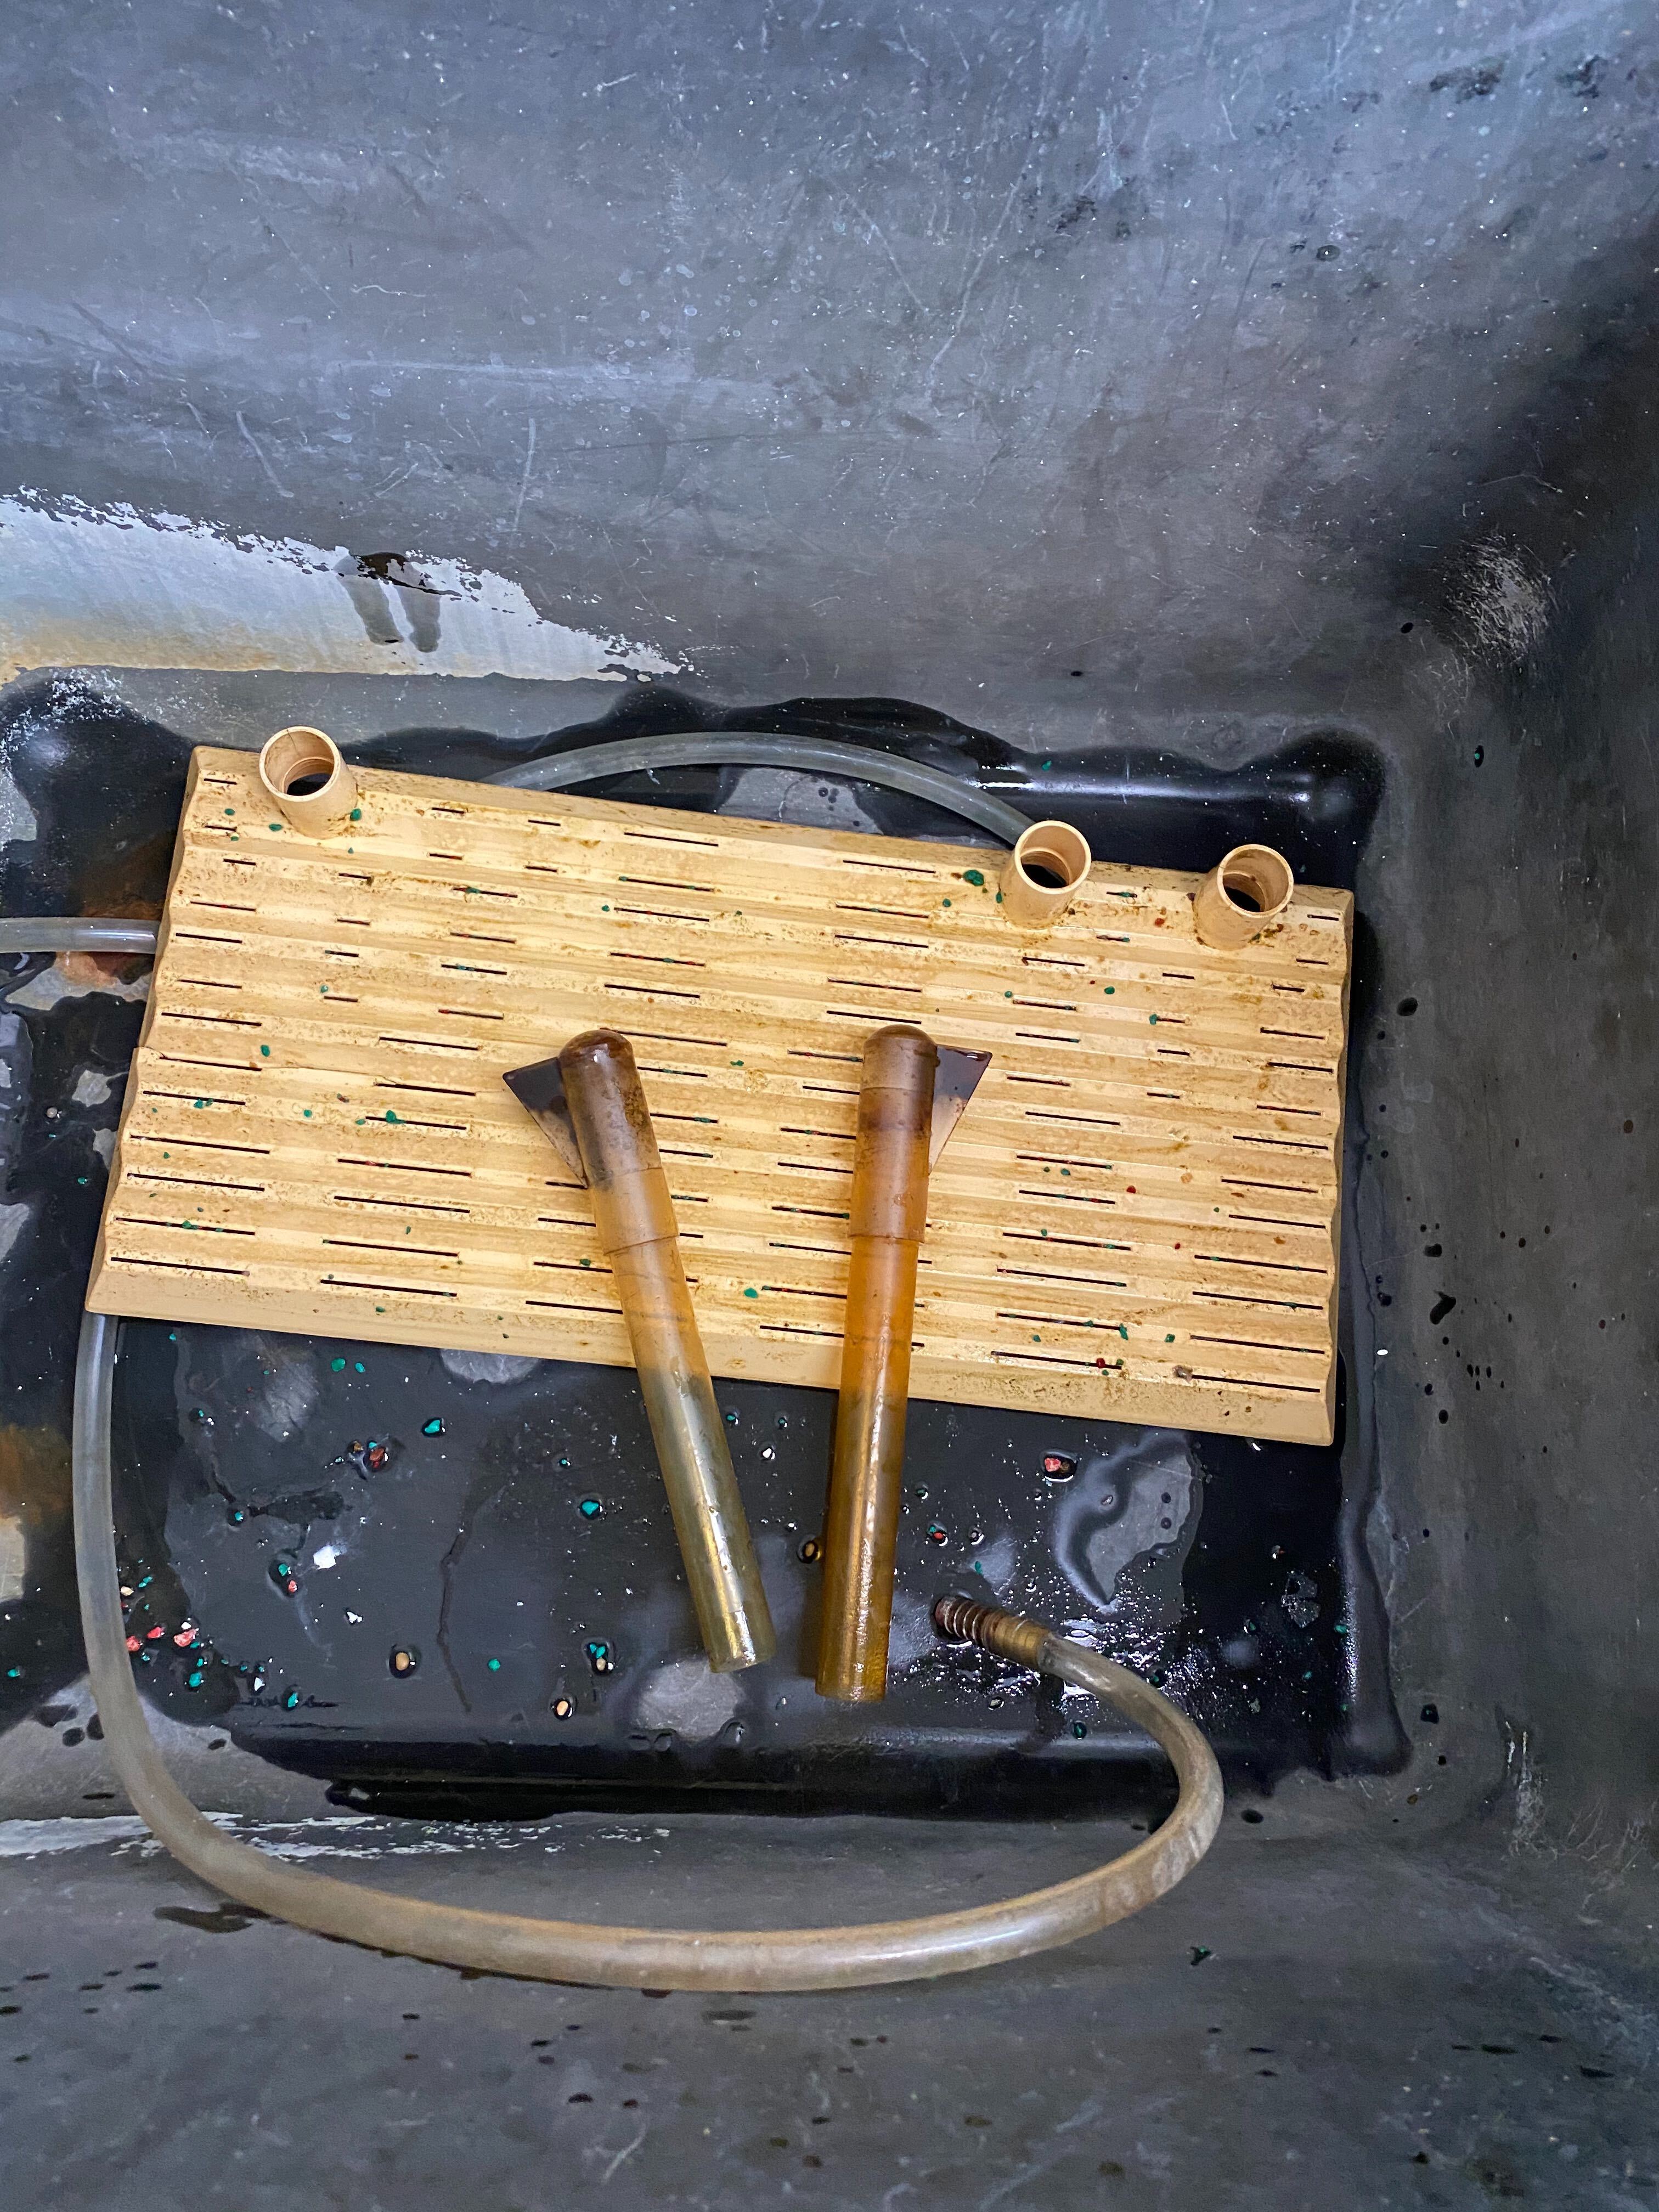
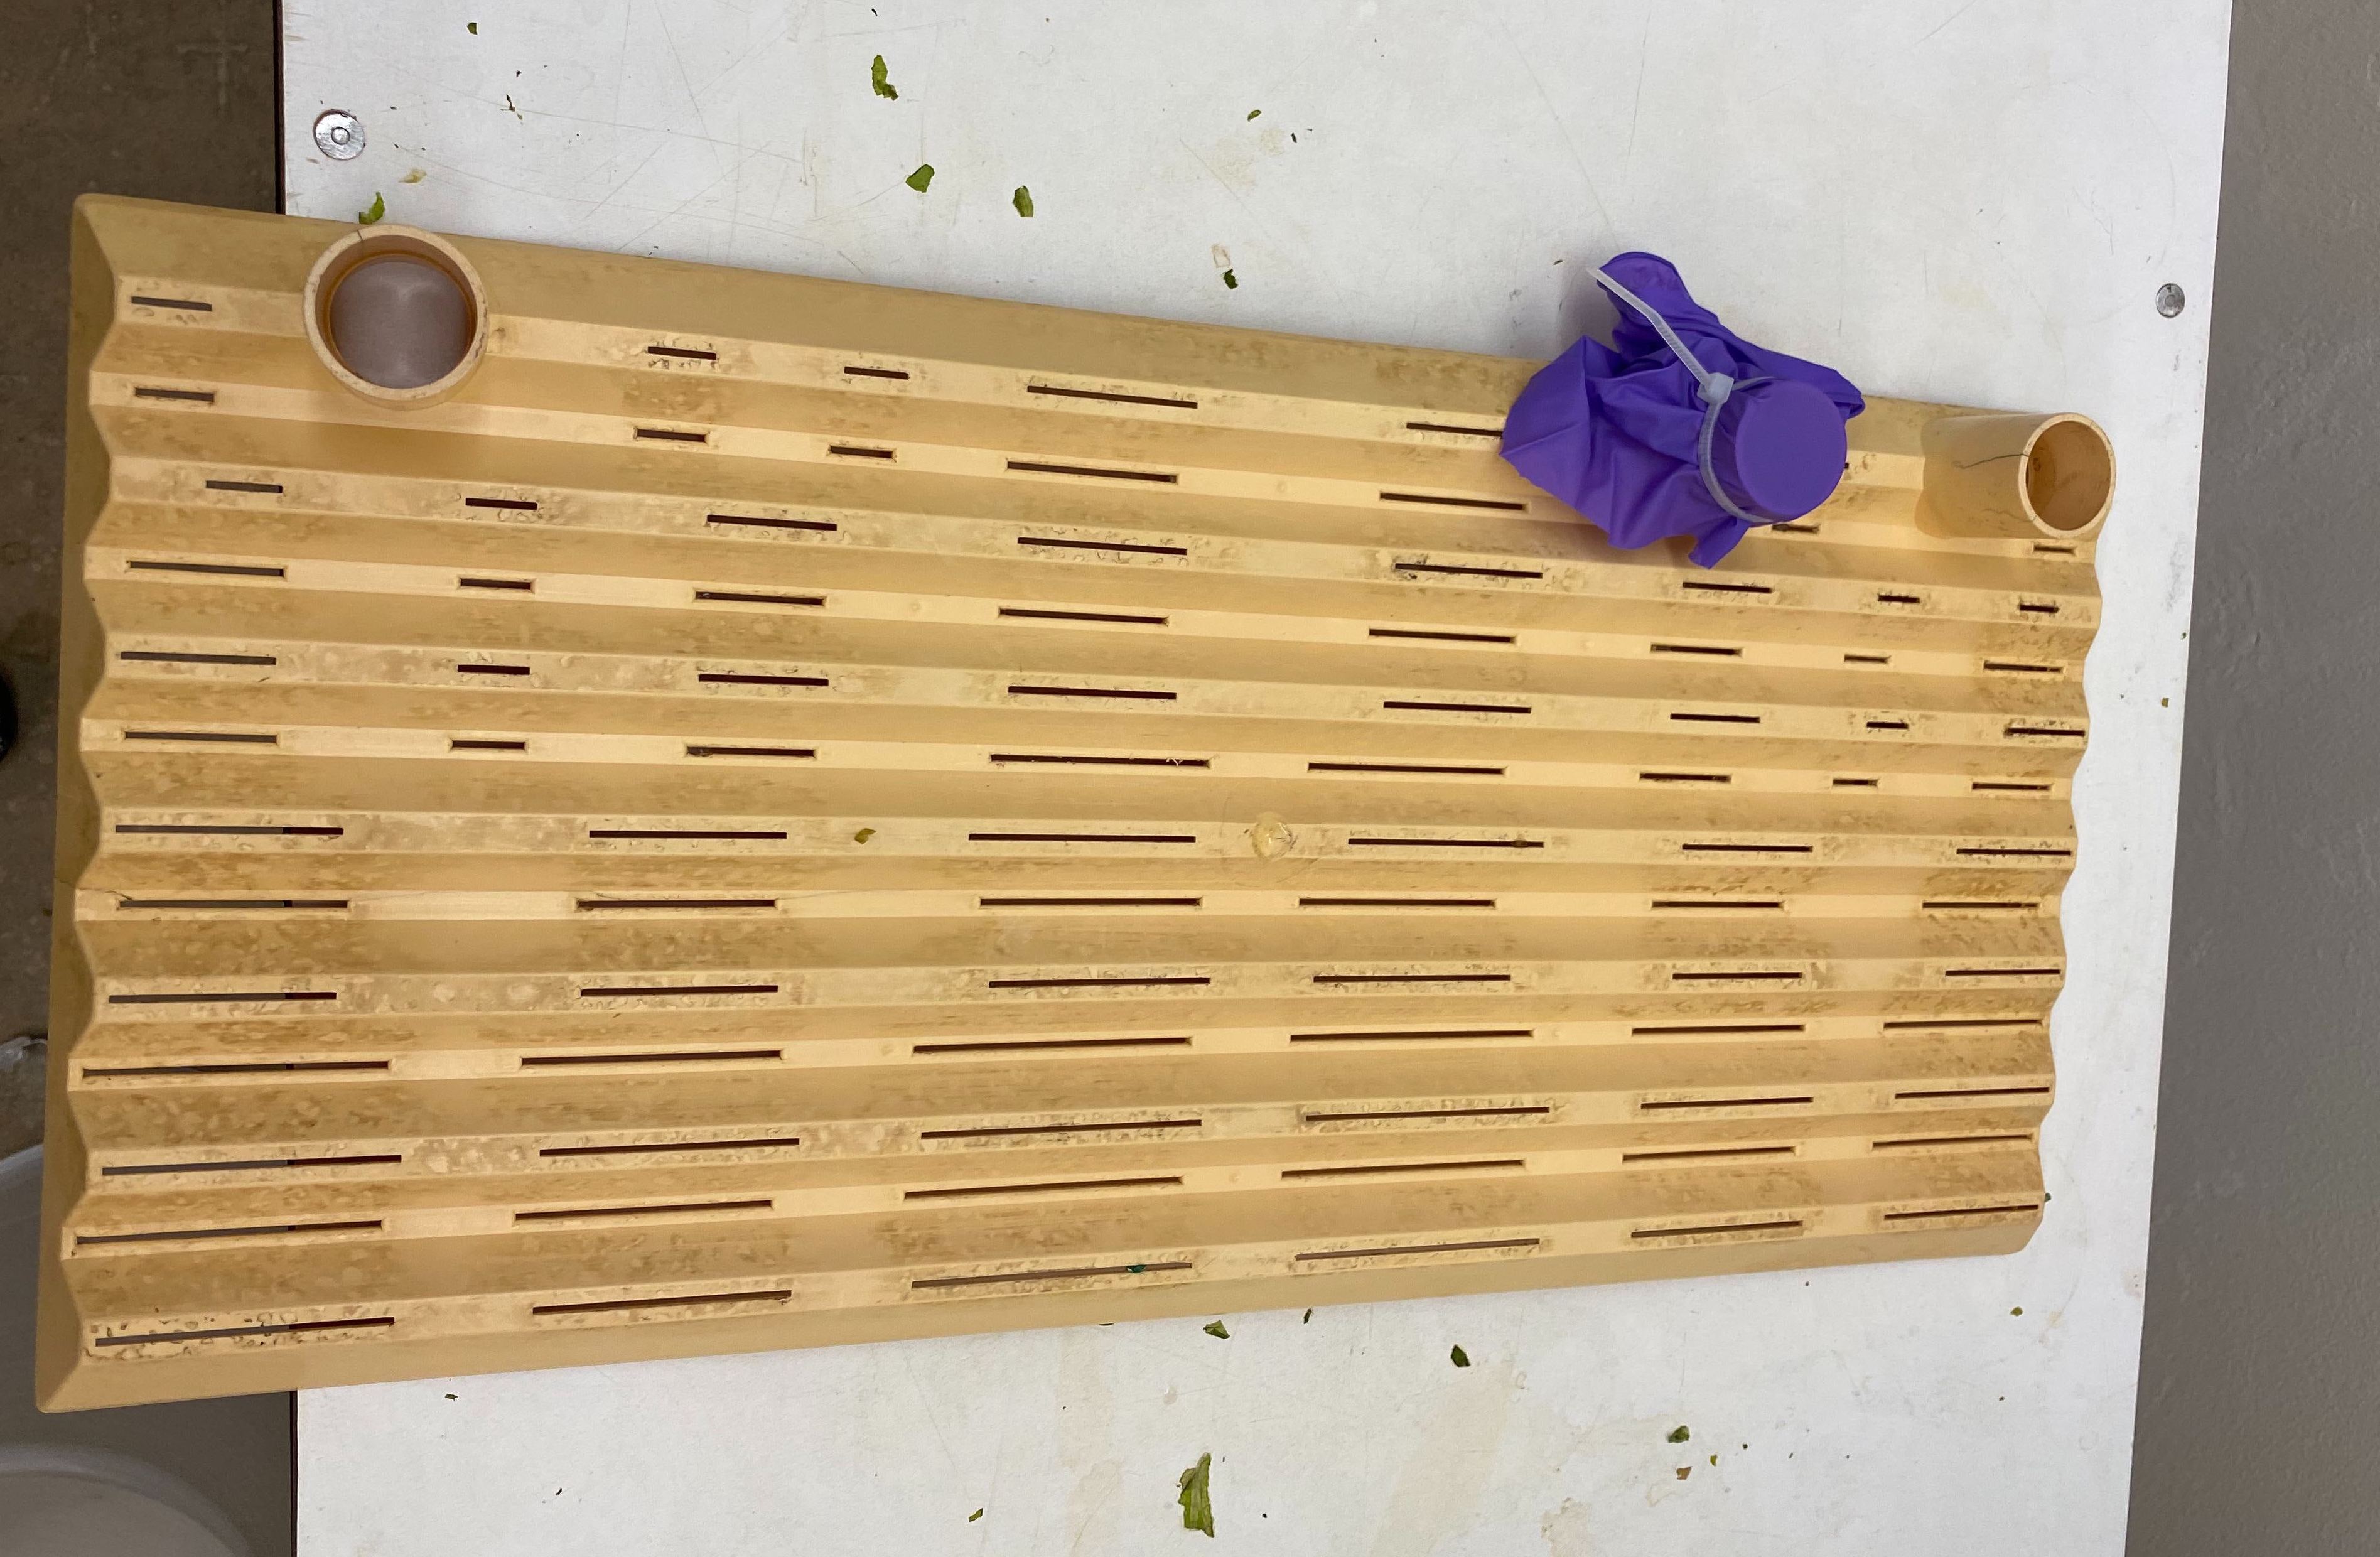
Remove the bottom platform from the base of the tank and tilt on the side. Remove the plastic aerator stacks from the platform. Remove the old glove and zip tie covering the middle hole on the platform and discard.
-
Wash the aerator stacks, and platform using DI water and the large bottle brush.
-
Some gravel will be left on the bottom of the tank. Bring the tank over to the sink and rinse the bottom of the tank with DI water. Dump the water and remaining gravel into the metal strainer.
Note: Avoid dumping gravel down the sink drain.
-
Wash the gravel really good with DI water. Set the washed gravel on the bottom shelf to dry.
-
Clean out the tank with DI water and the large bottle brush. Use a clean razor blade to clean the old lettuce off the rim of the tank and around the edges of the tank. Rinse the tank with water at least 3 times to make sure you get rid of mites and debris.
-
Put the tank back on the shelf. Re-assemble the platform by re-inserting the aerator stacks, and placing a piece of nitrile glove over the middle hole and zip tie it into place. Place on the bottom of the clean tank. One autoclaved container of rocks goes on the bottom of the tank and over the platform.
-
Fill the tank 80% full with pond water from the large Nalgene tank. Add 6 half sticks of chalk. Add 4 styrofoam cup pieces. Remove old gloves and put new gloves on. Hand pick the snails out of the holding tank and add back to the colony tank.

Note: Do not dump the water and snails from the holding tank into the new tank. This will minimize risk of mite contamination.
-
Top off the tank with pond water and reconnect the tubing to the aerator stacks and air pump. Feed a little bit of fish food and a little bit of lettuce. Label the tank with the correct coloured label containing the date and species of snail (yellow: BS90, red: NMRI).
-
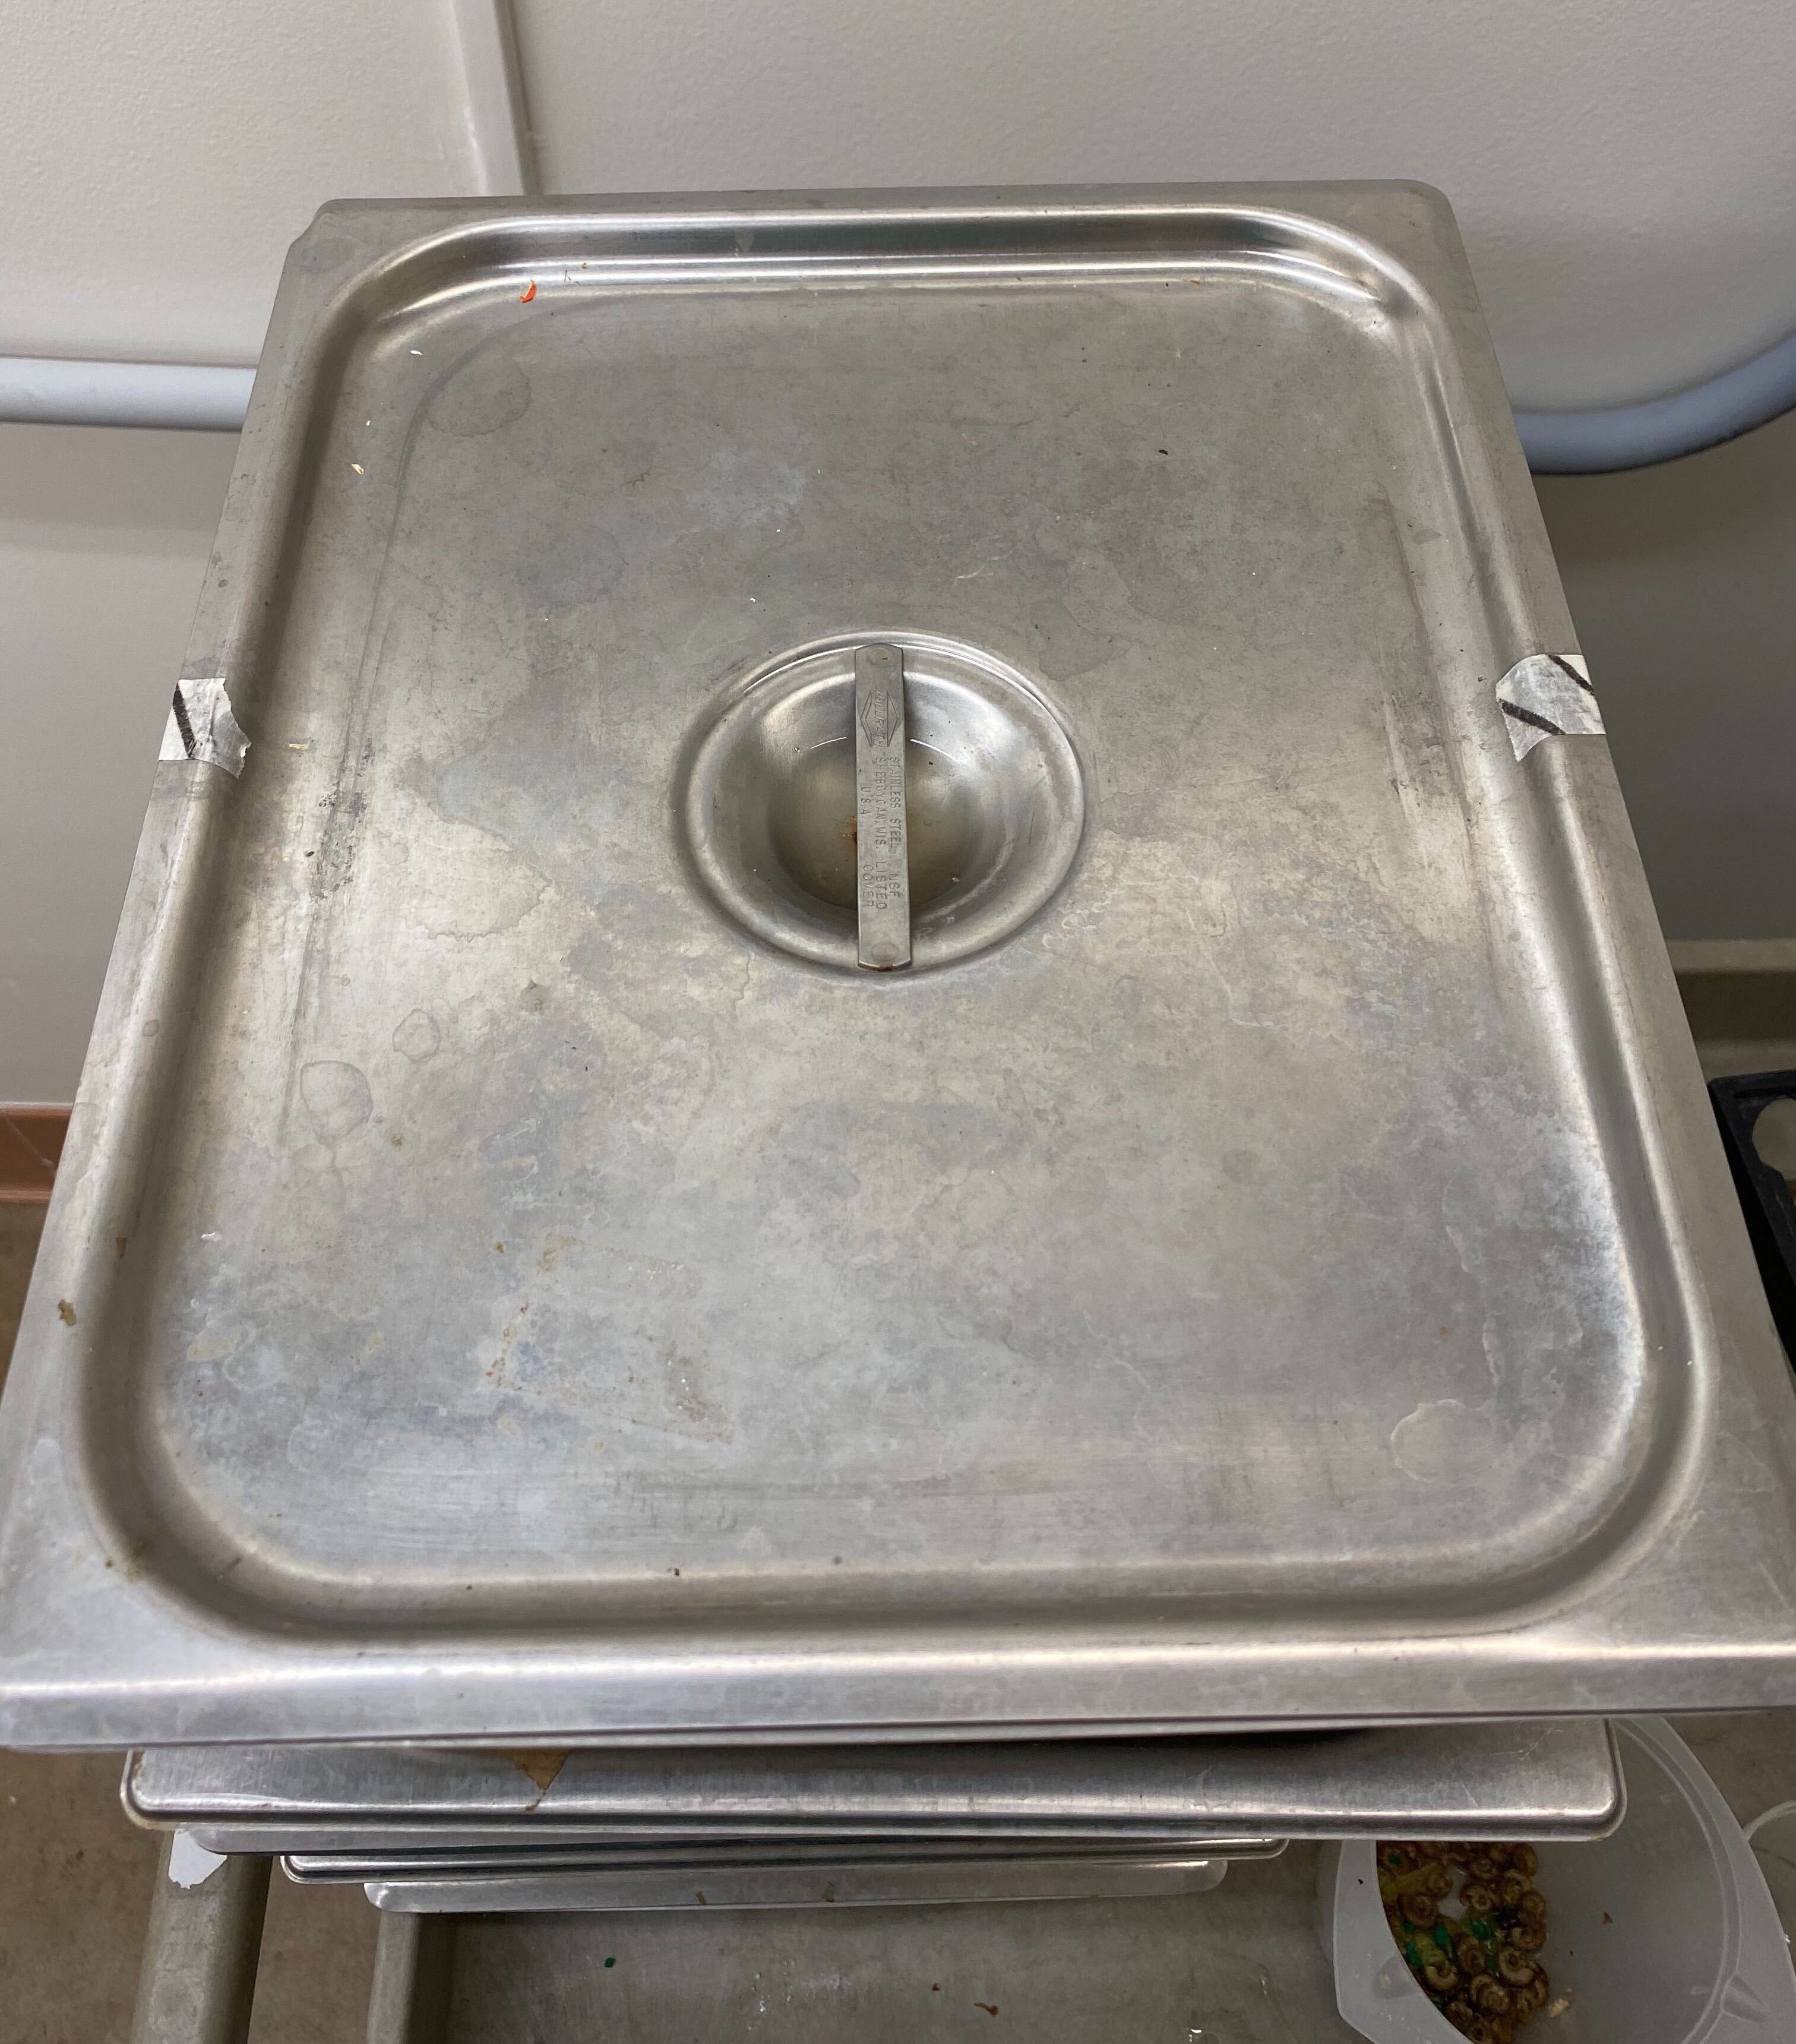
Dump the gravel that has been drying into one of the large metal autoclave containers. Set back on the bottom shelf with the lid off to allow to dry overnight. The next day, place the lid onto the metal autoclave bin containing the gravel and add autoclave tape on two sides of the container to secure the lid to the bottom bin. Autoclave as needed.
-
Clean the small holding tank, dishes and buckets used to clean the tank.
-
Repeat the above steps for all tanks.