Chunking Worms
-
Make sure the bottom of the plate to which you are moving the worms is labeled with the strain name and date.
-
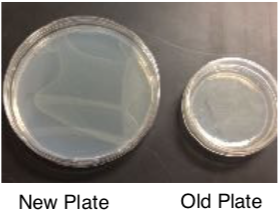
Have both your old plate (starved worms, no bacteria) and new plate (no worms, bacteria) ready.
-
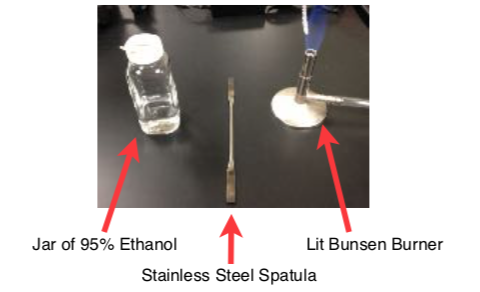
Have the necessary tools ready.
-
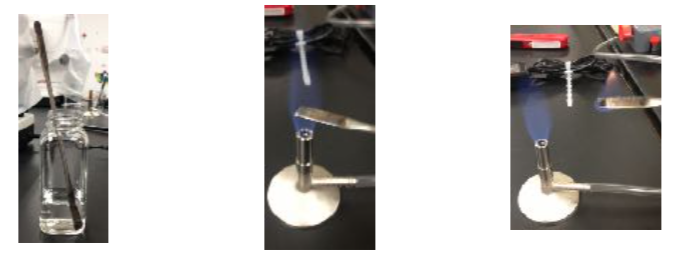
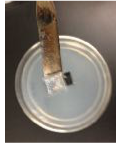
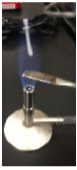
Place the spatula in the jar of ethanol and then pass the spatula through the flame to sterilize it.
-
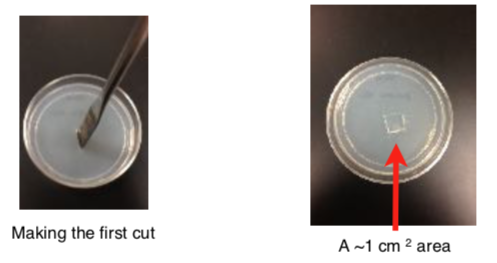
After the flame has extinguished from the spatula, use the sterilized spatula to cut through the agar in the center of the plate and cut out a ~1 cm2 area.
-
Remove the cut-out area using the spatula.
-
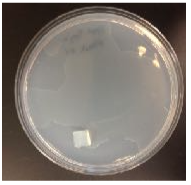
Place the agar chunk form the old plate worm-side down at the edge of the bacterial lawn on the new plate.
-
After you place the agar chunk down, hold the spatula in the flame of the bunsen burner to melt/burn any remaining agar and worms.
-
Place the spatula back in the ethanol to sterilize again before preparing the next sample.
-
When done chunking, place the plates in the incubator at their optimal growing temperature.